Creamy Crochet Coasters Pattern
“Humanity runs on coffee.”

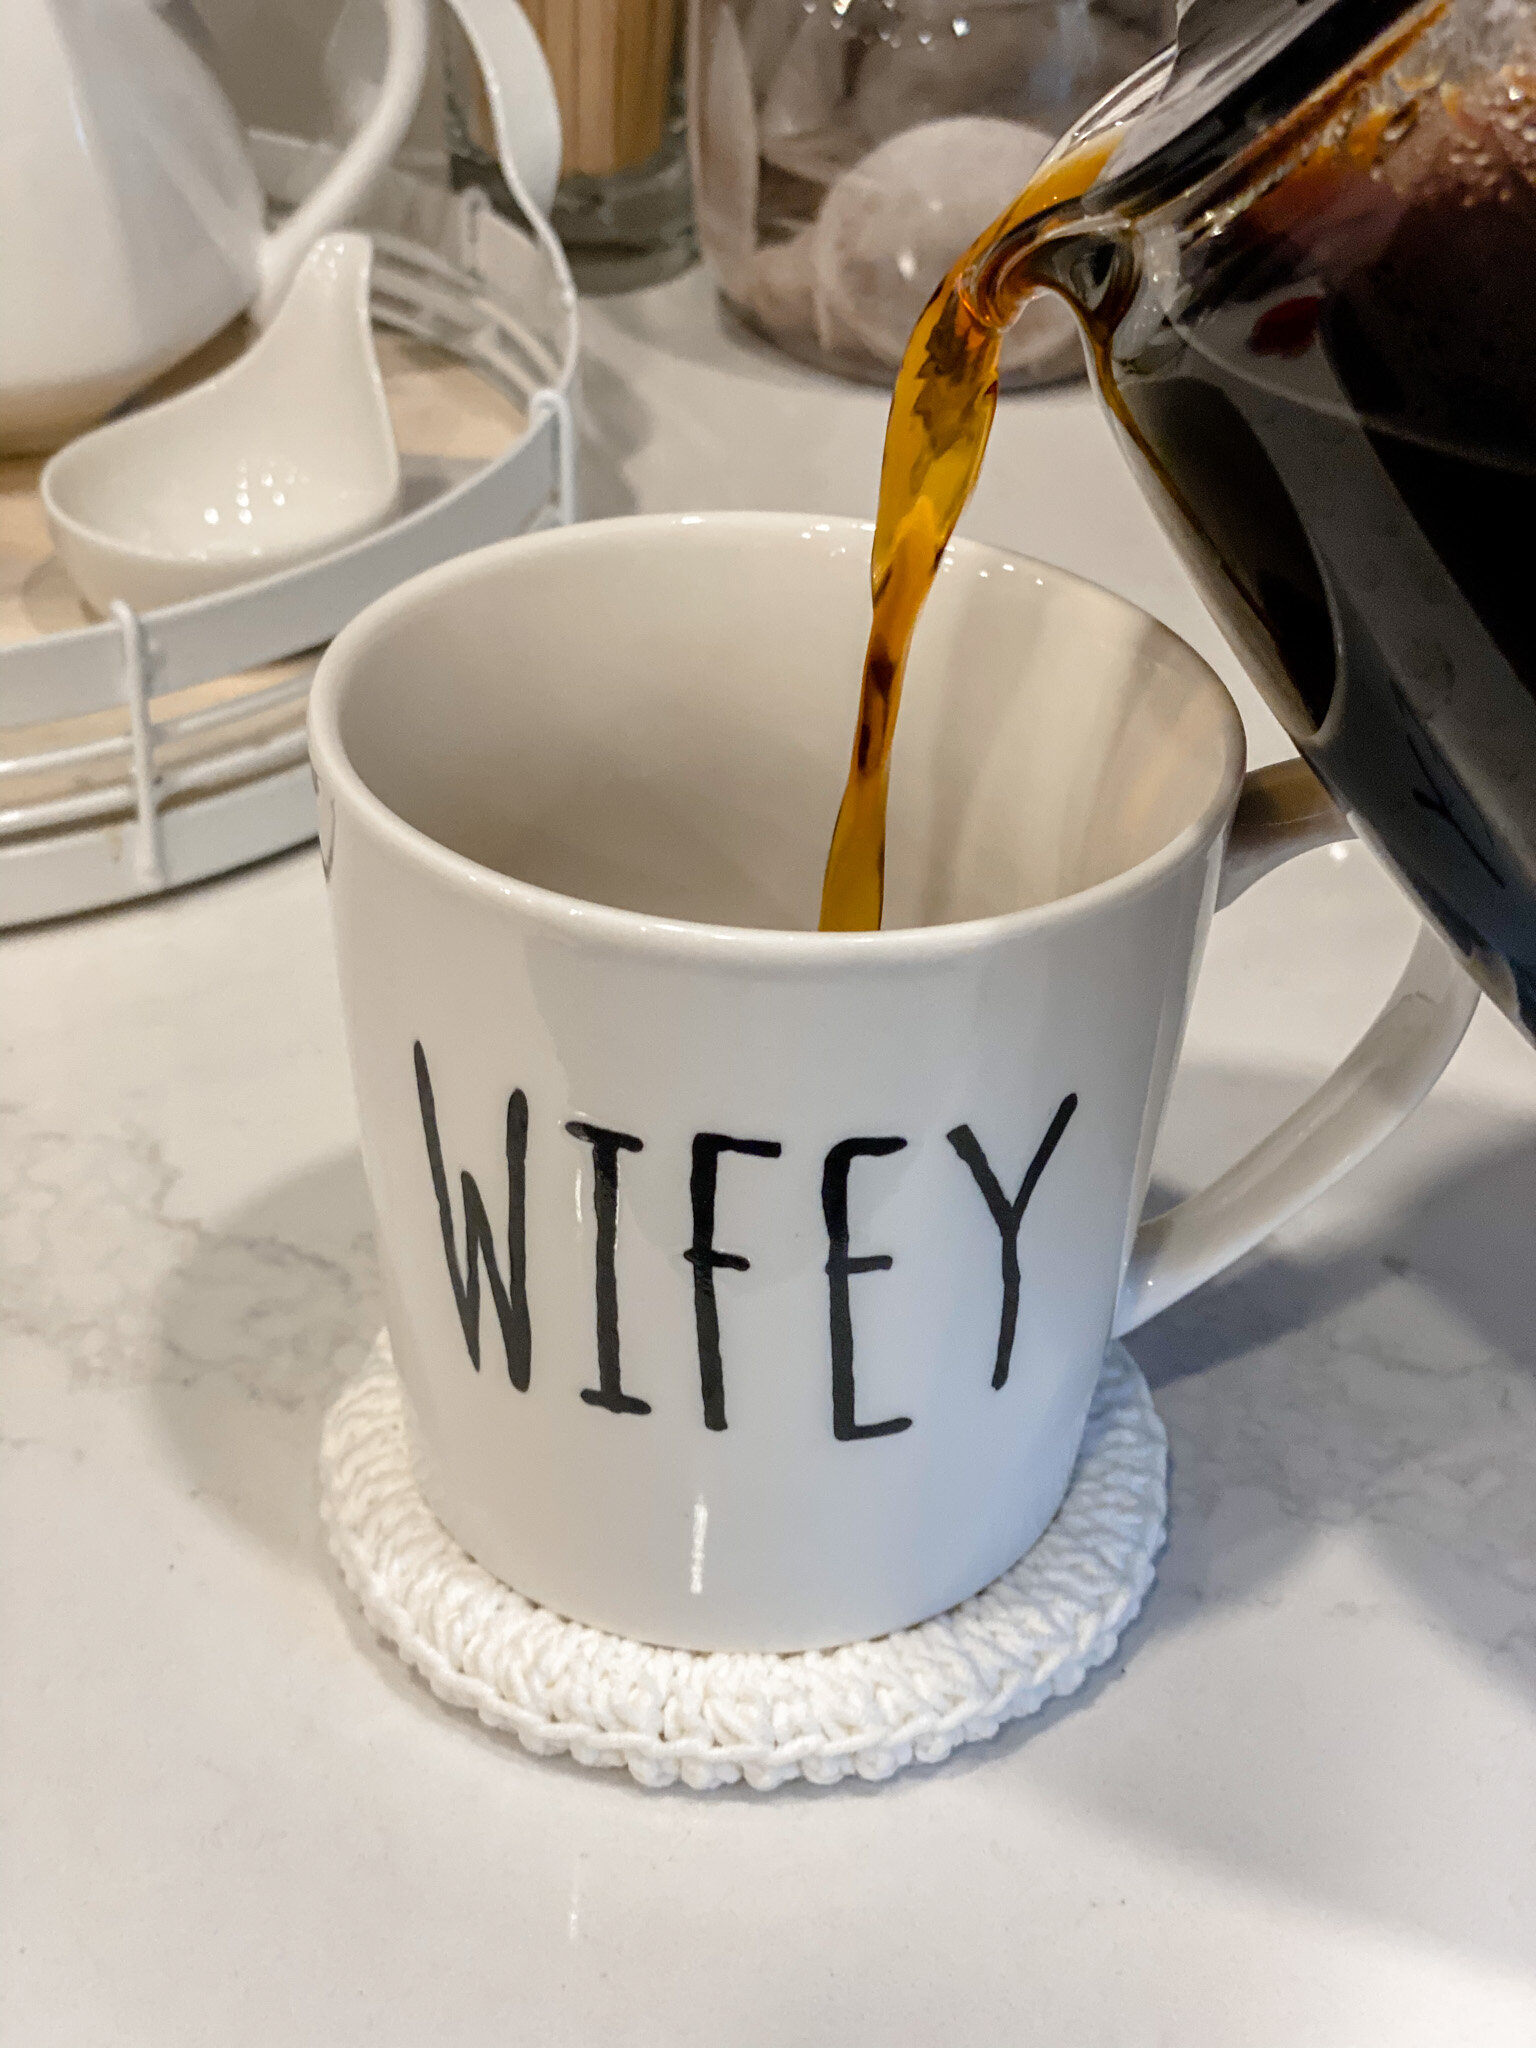
Who doesn’t love a hot cup of something?
Well, if you’re anything like me, hot drinks are vital all year long, but especially in the cool of winter. I was searching for the perfect coaster AND the perfect gift so I created this quick and easy pattern!
Whether you want it to blend in or stand out, grab some yarn and join me in making these beautiful home accents!
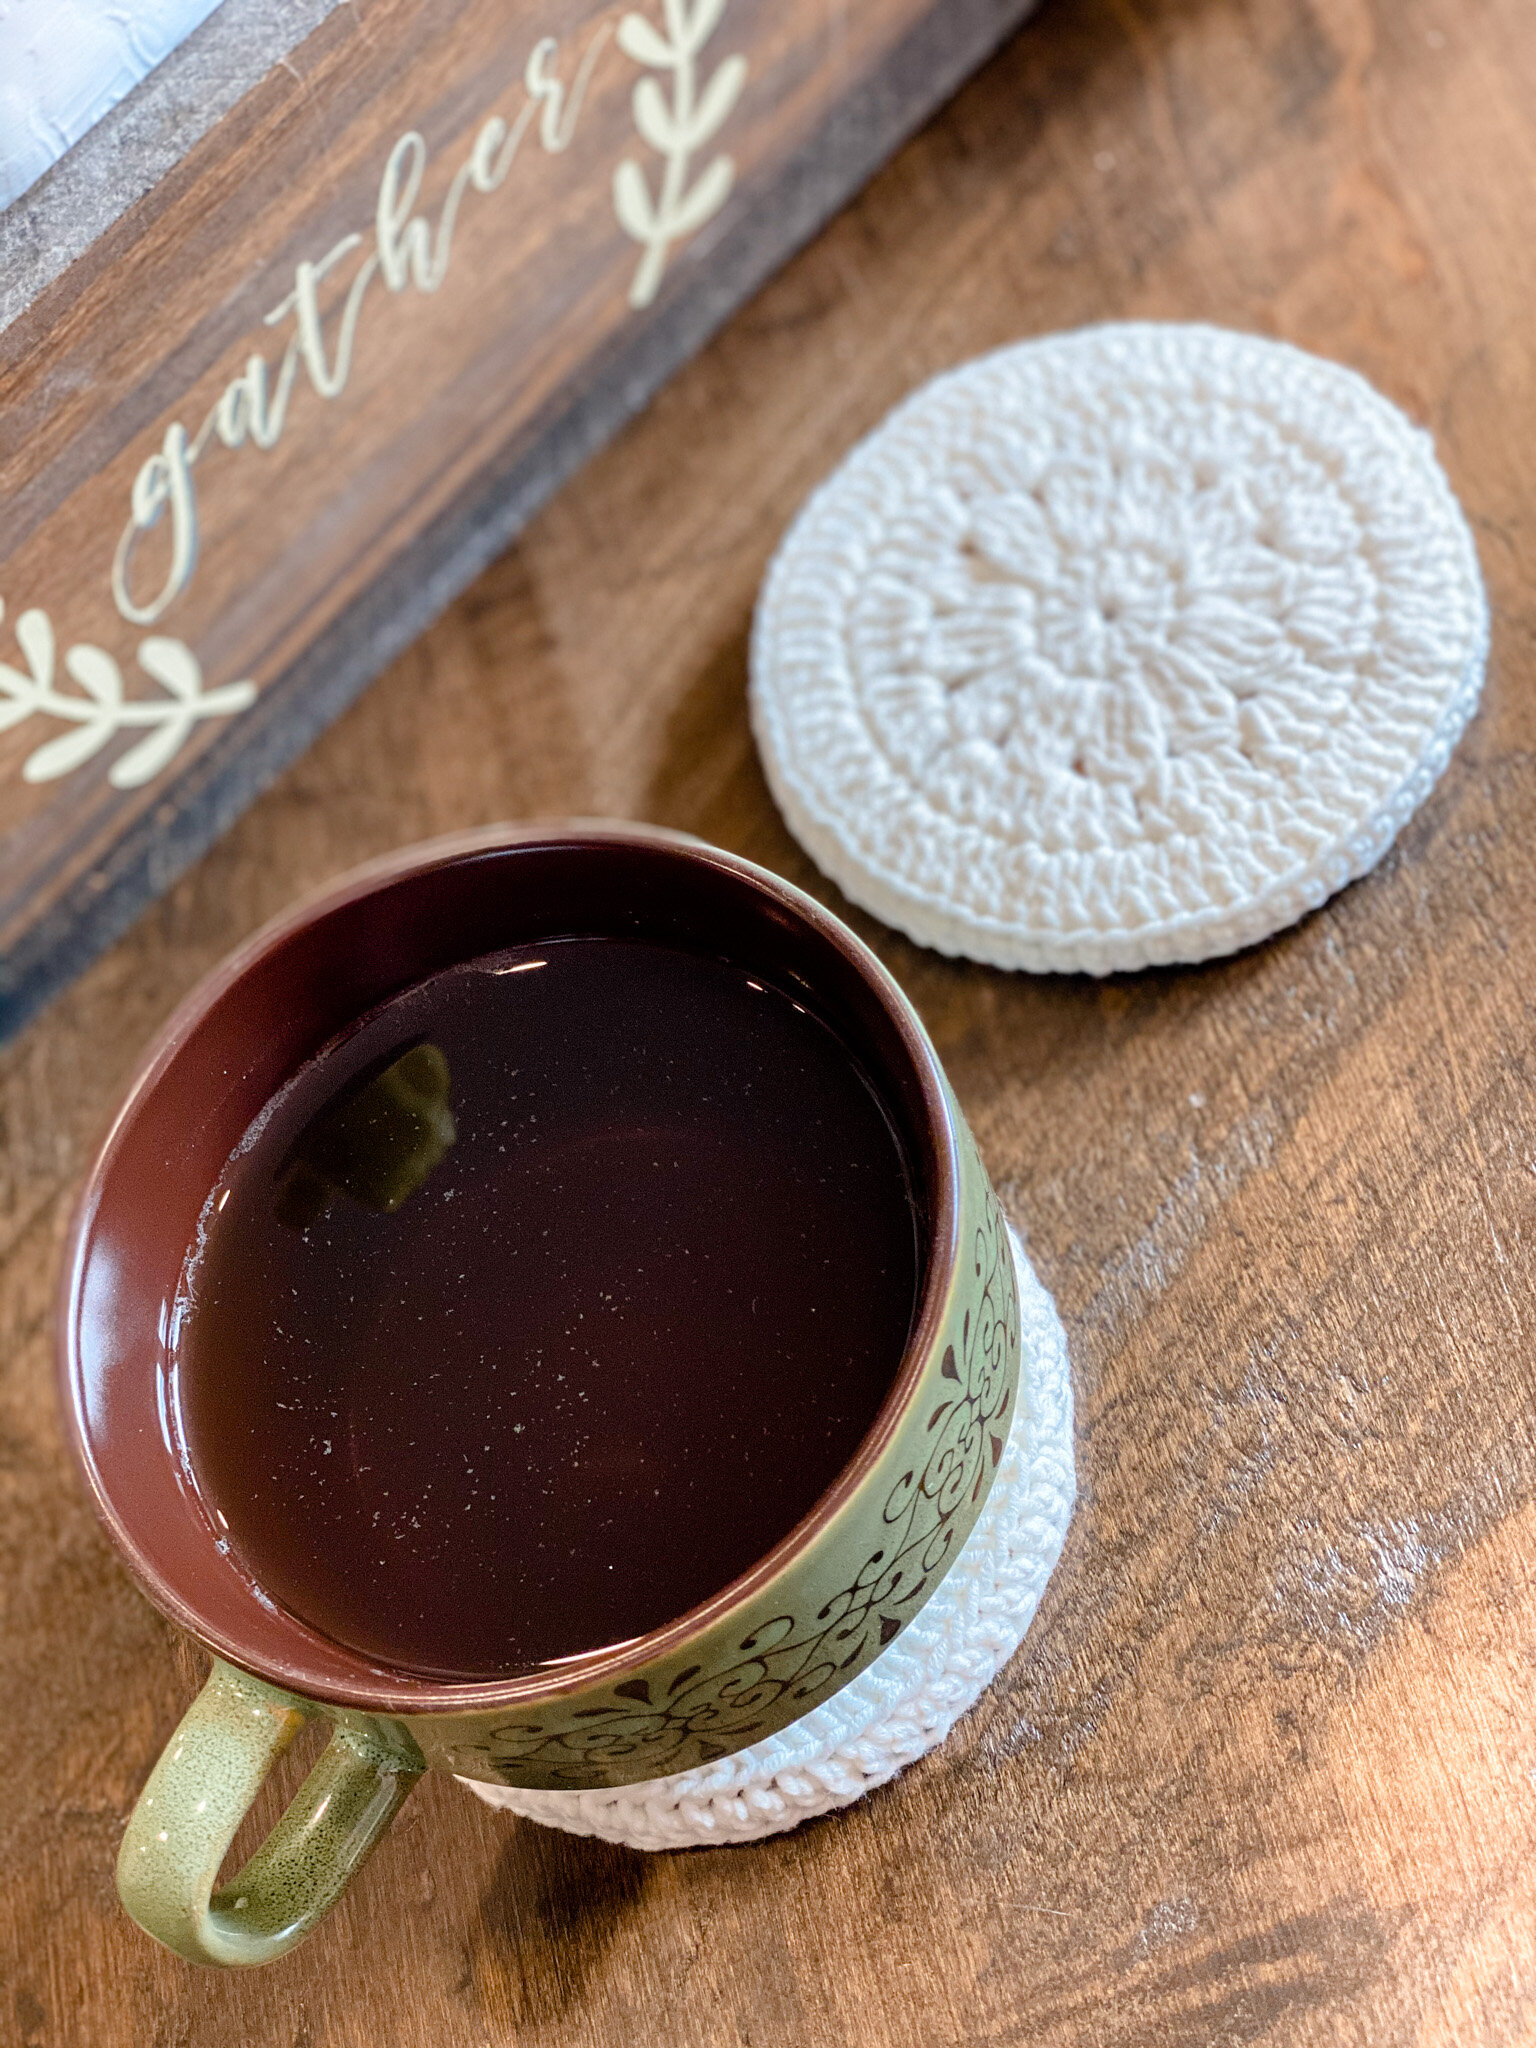
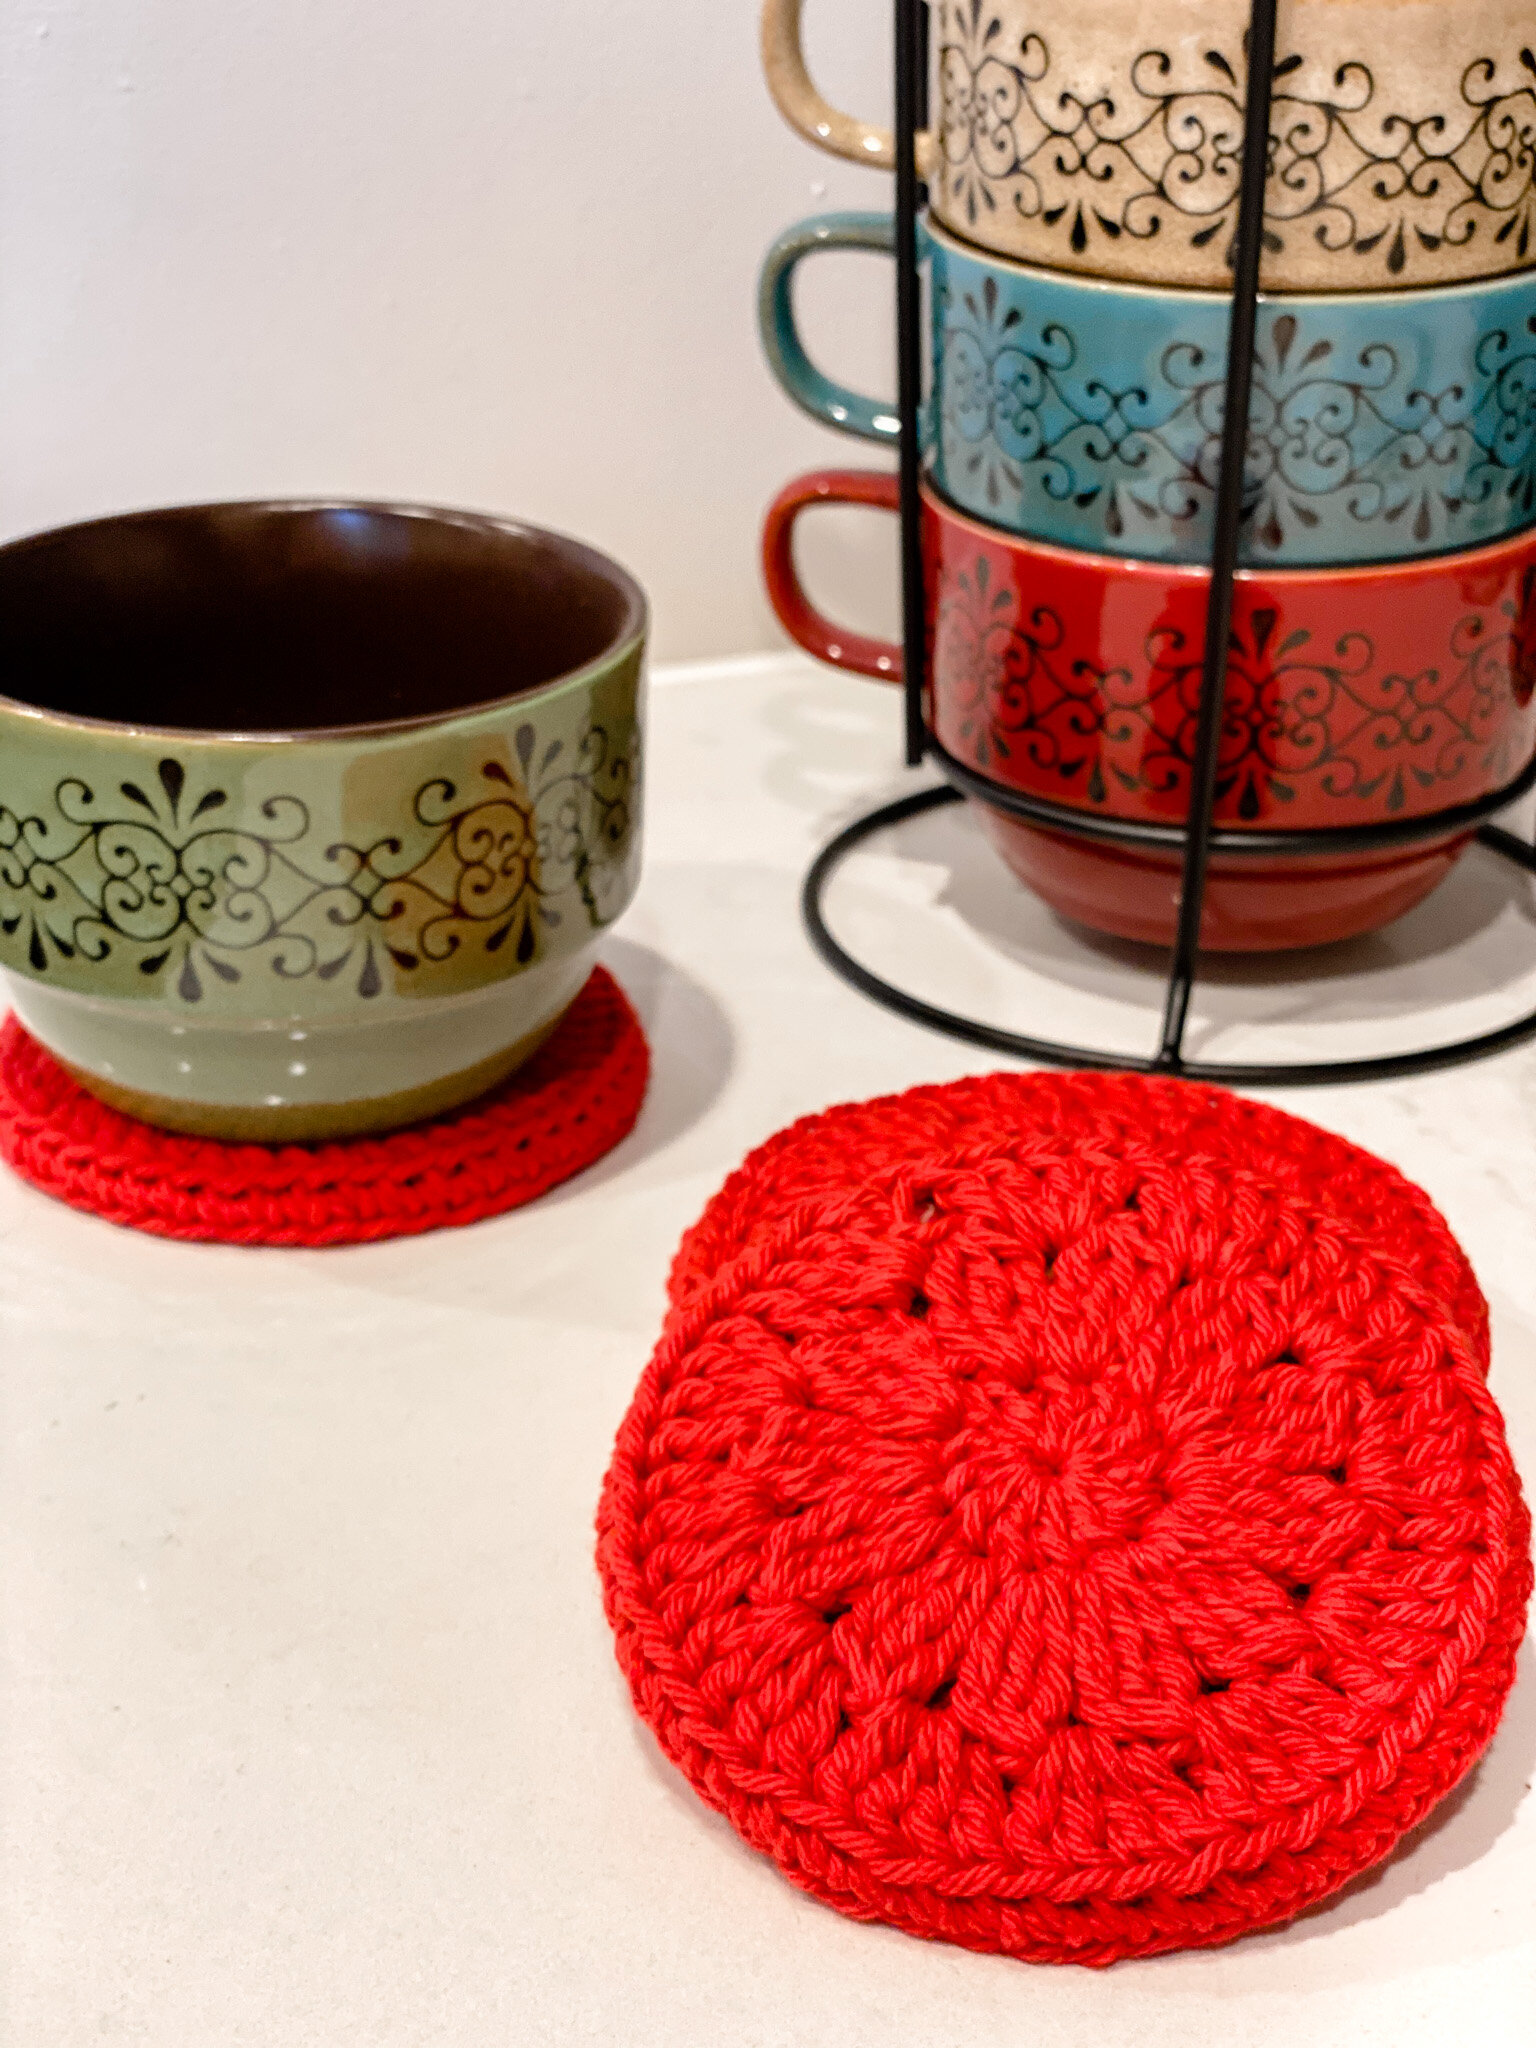
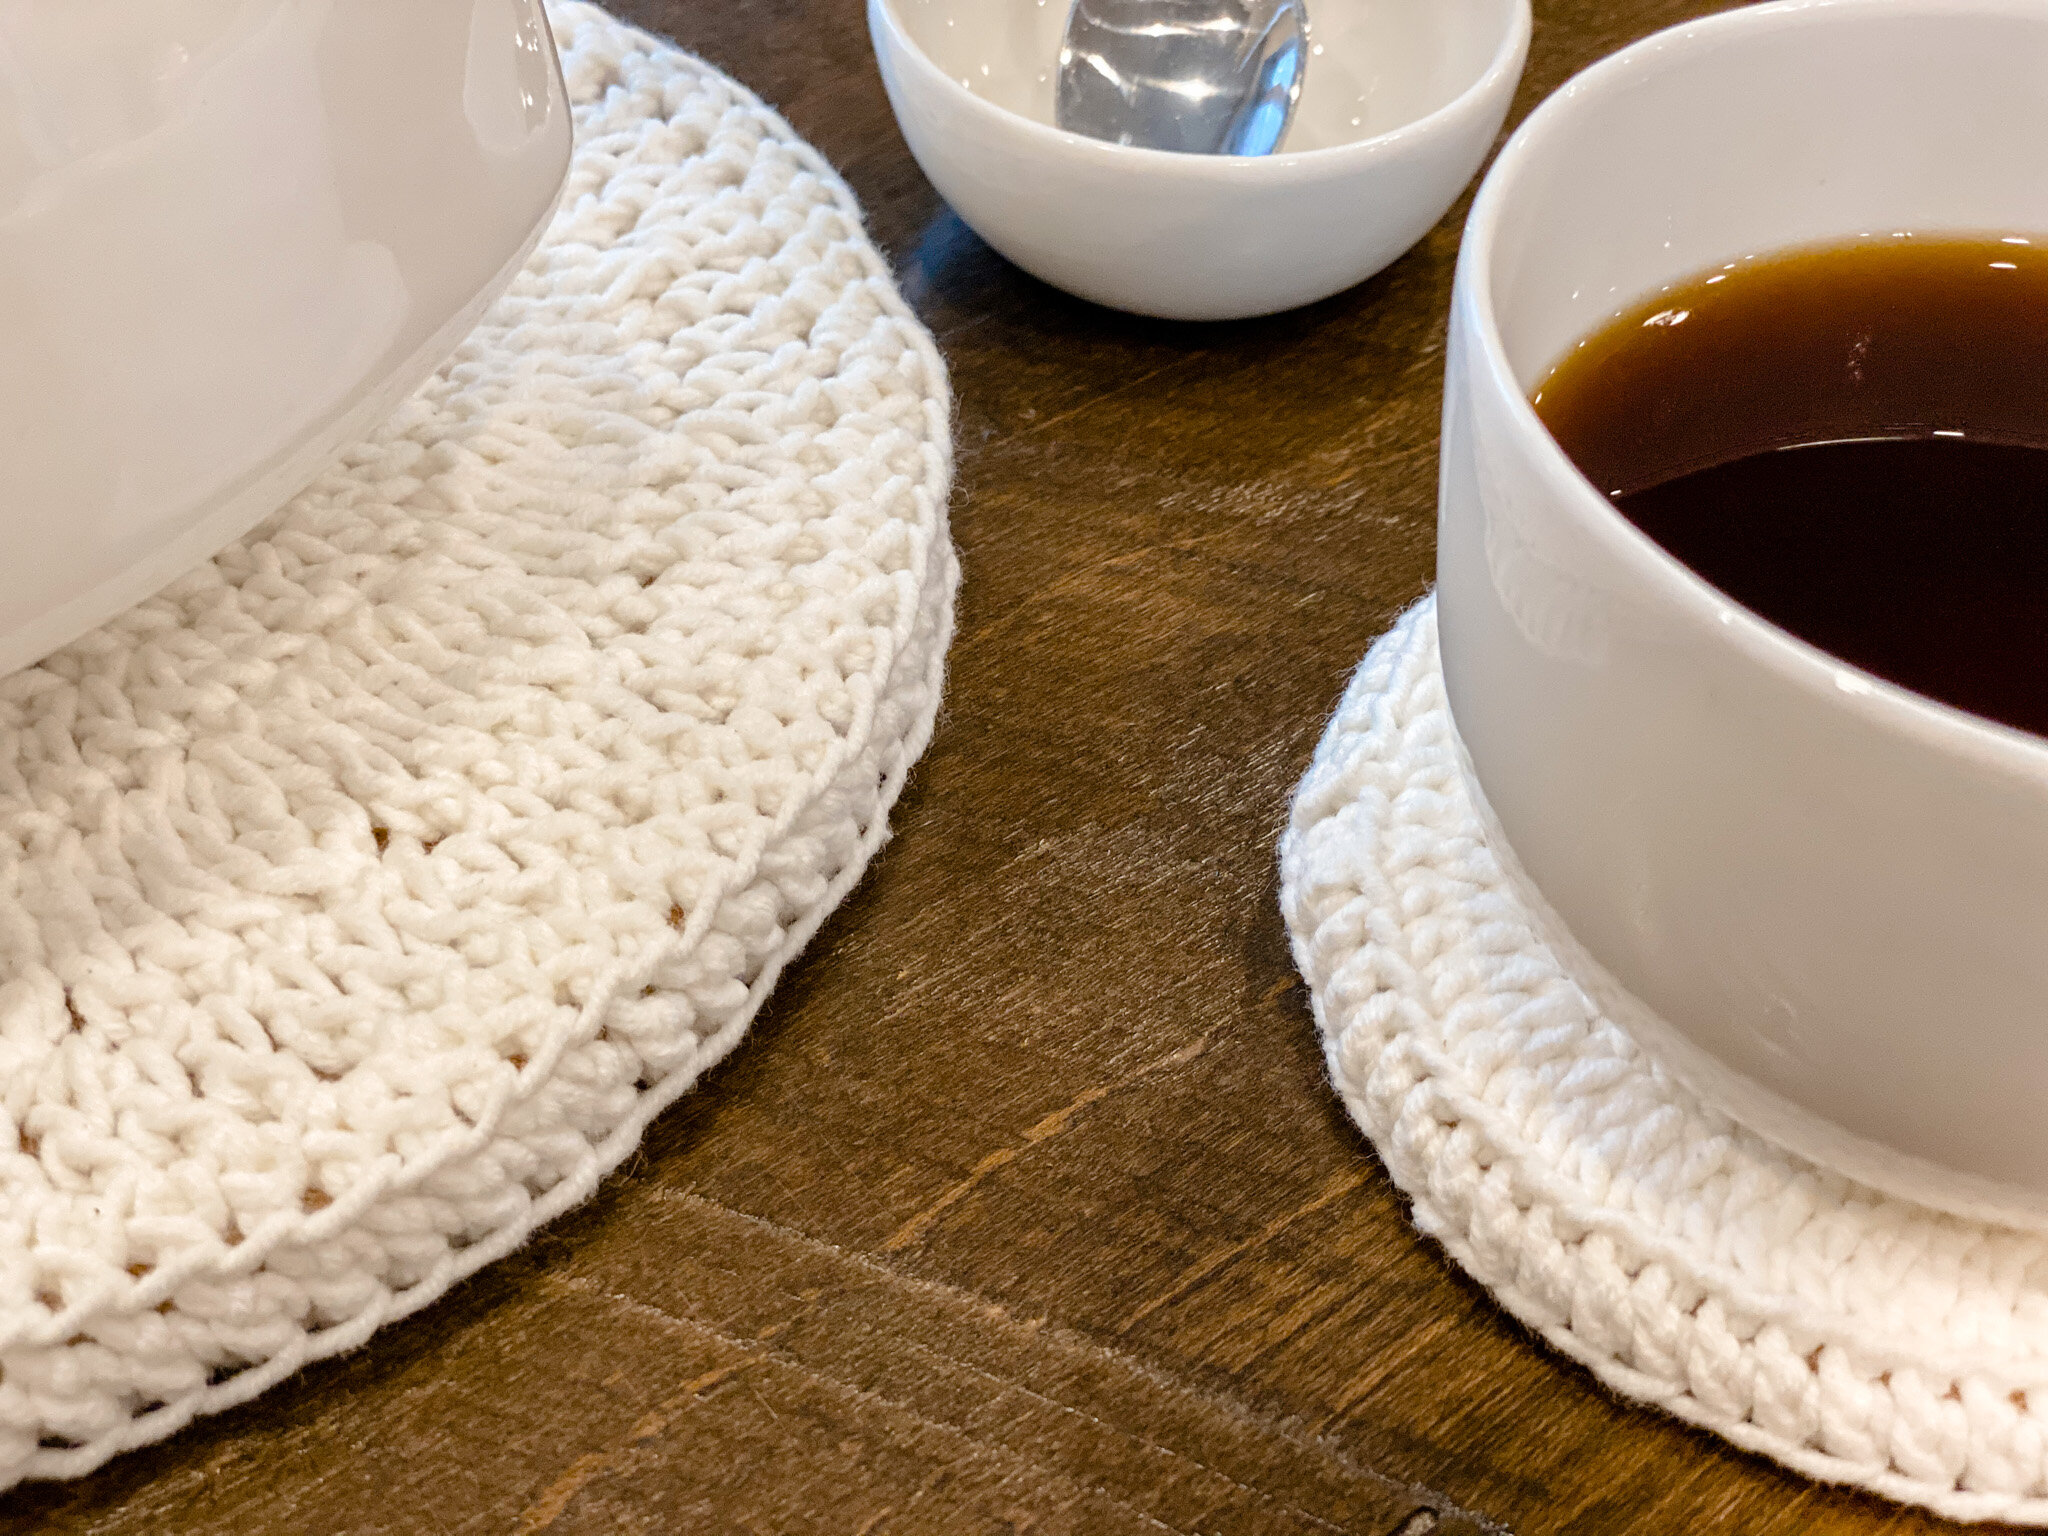
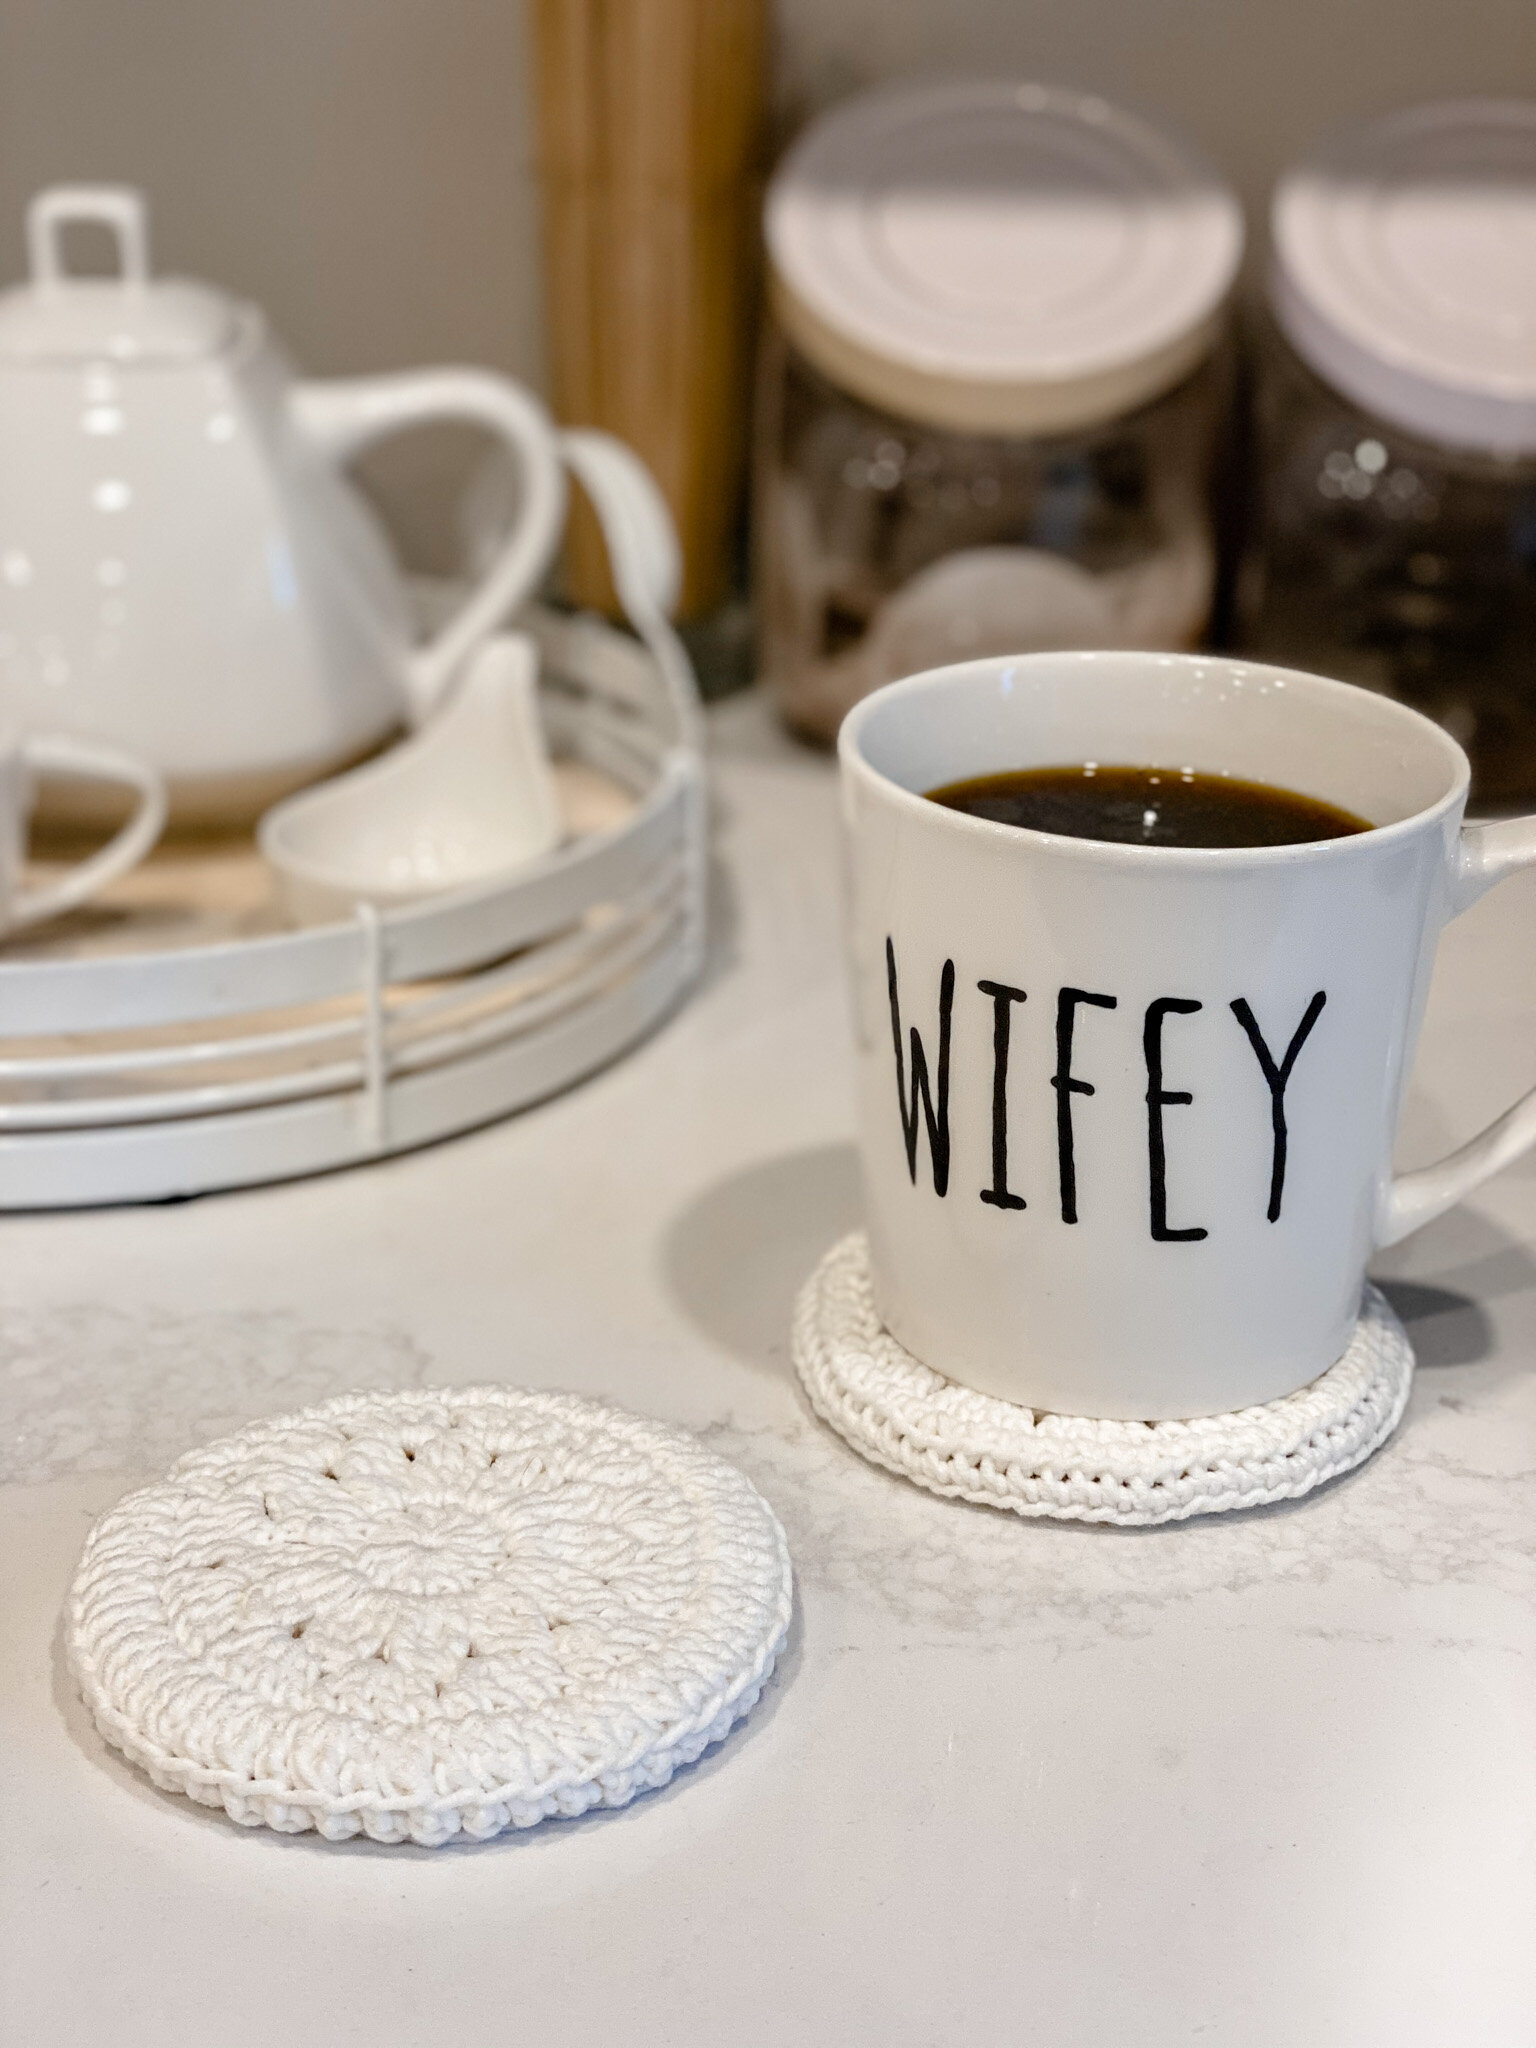
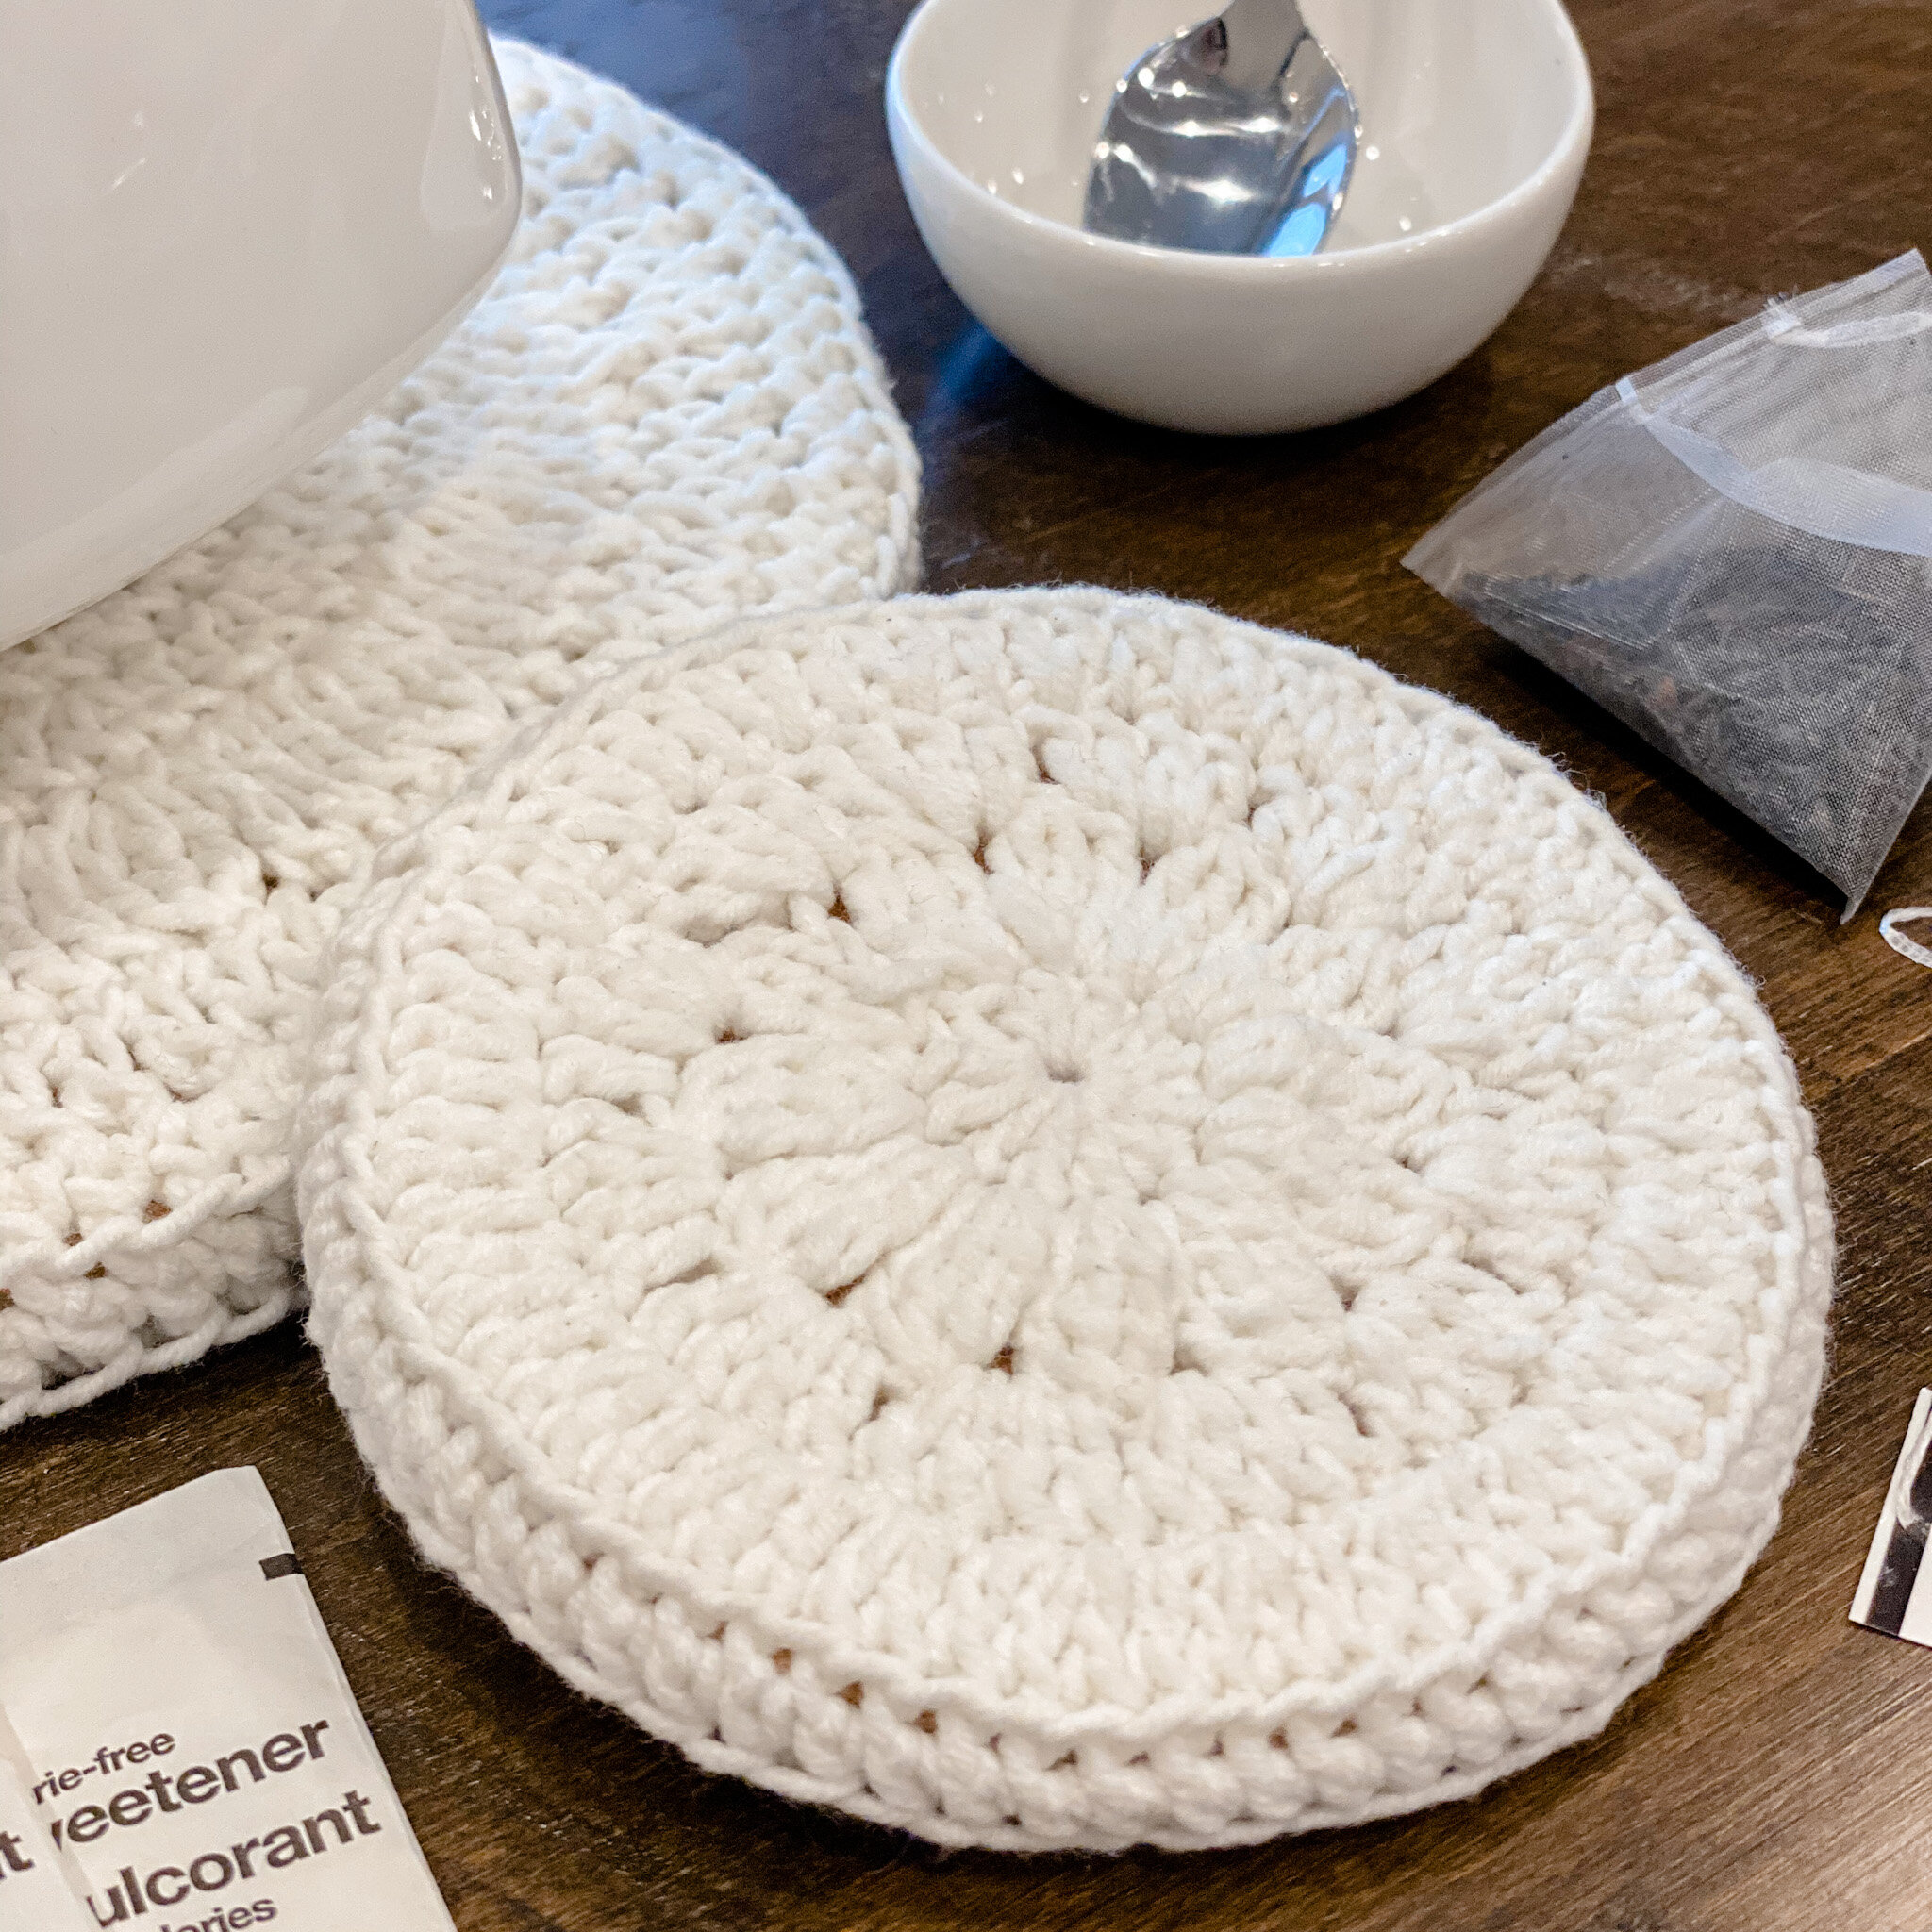
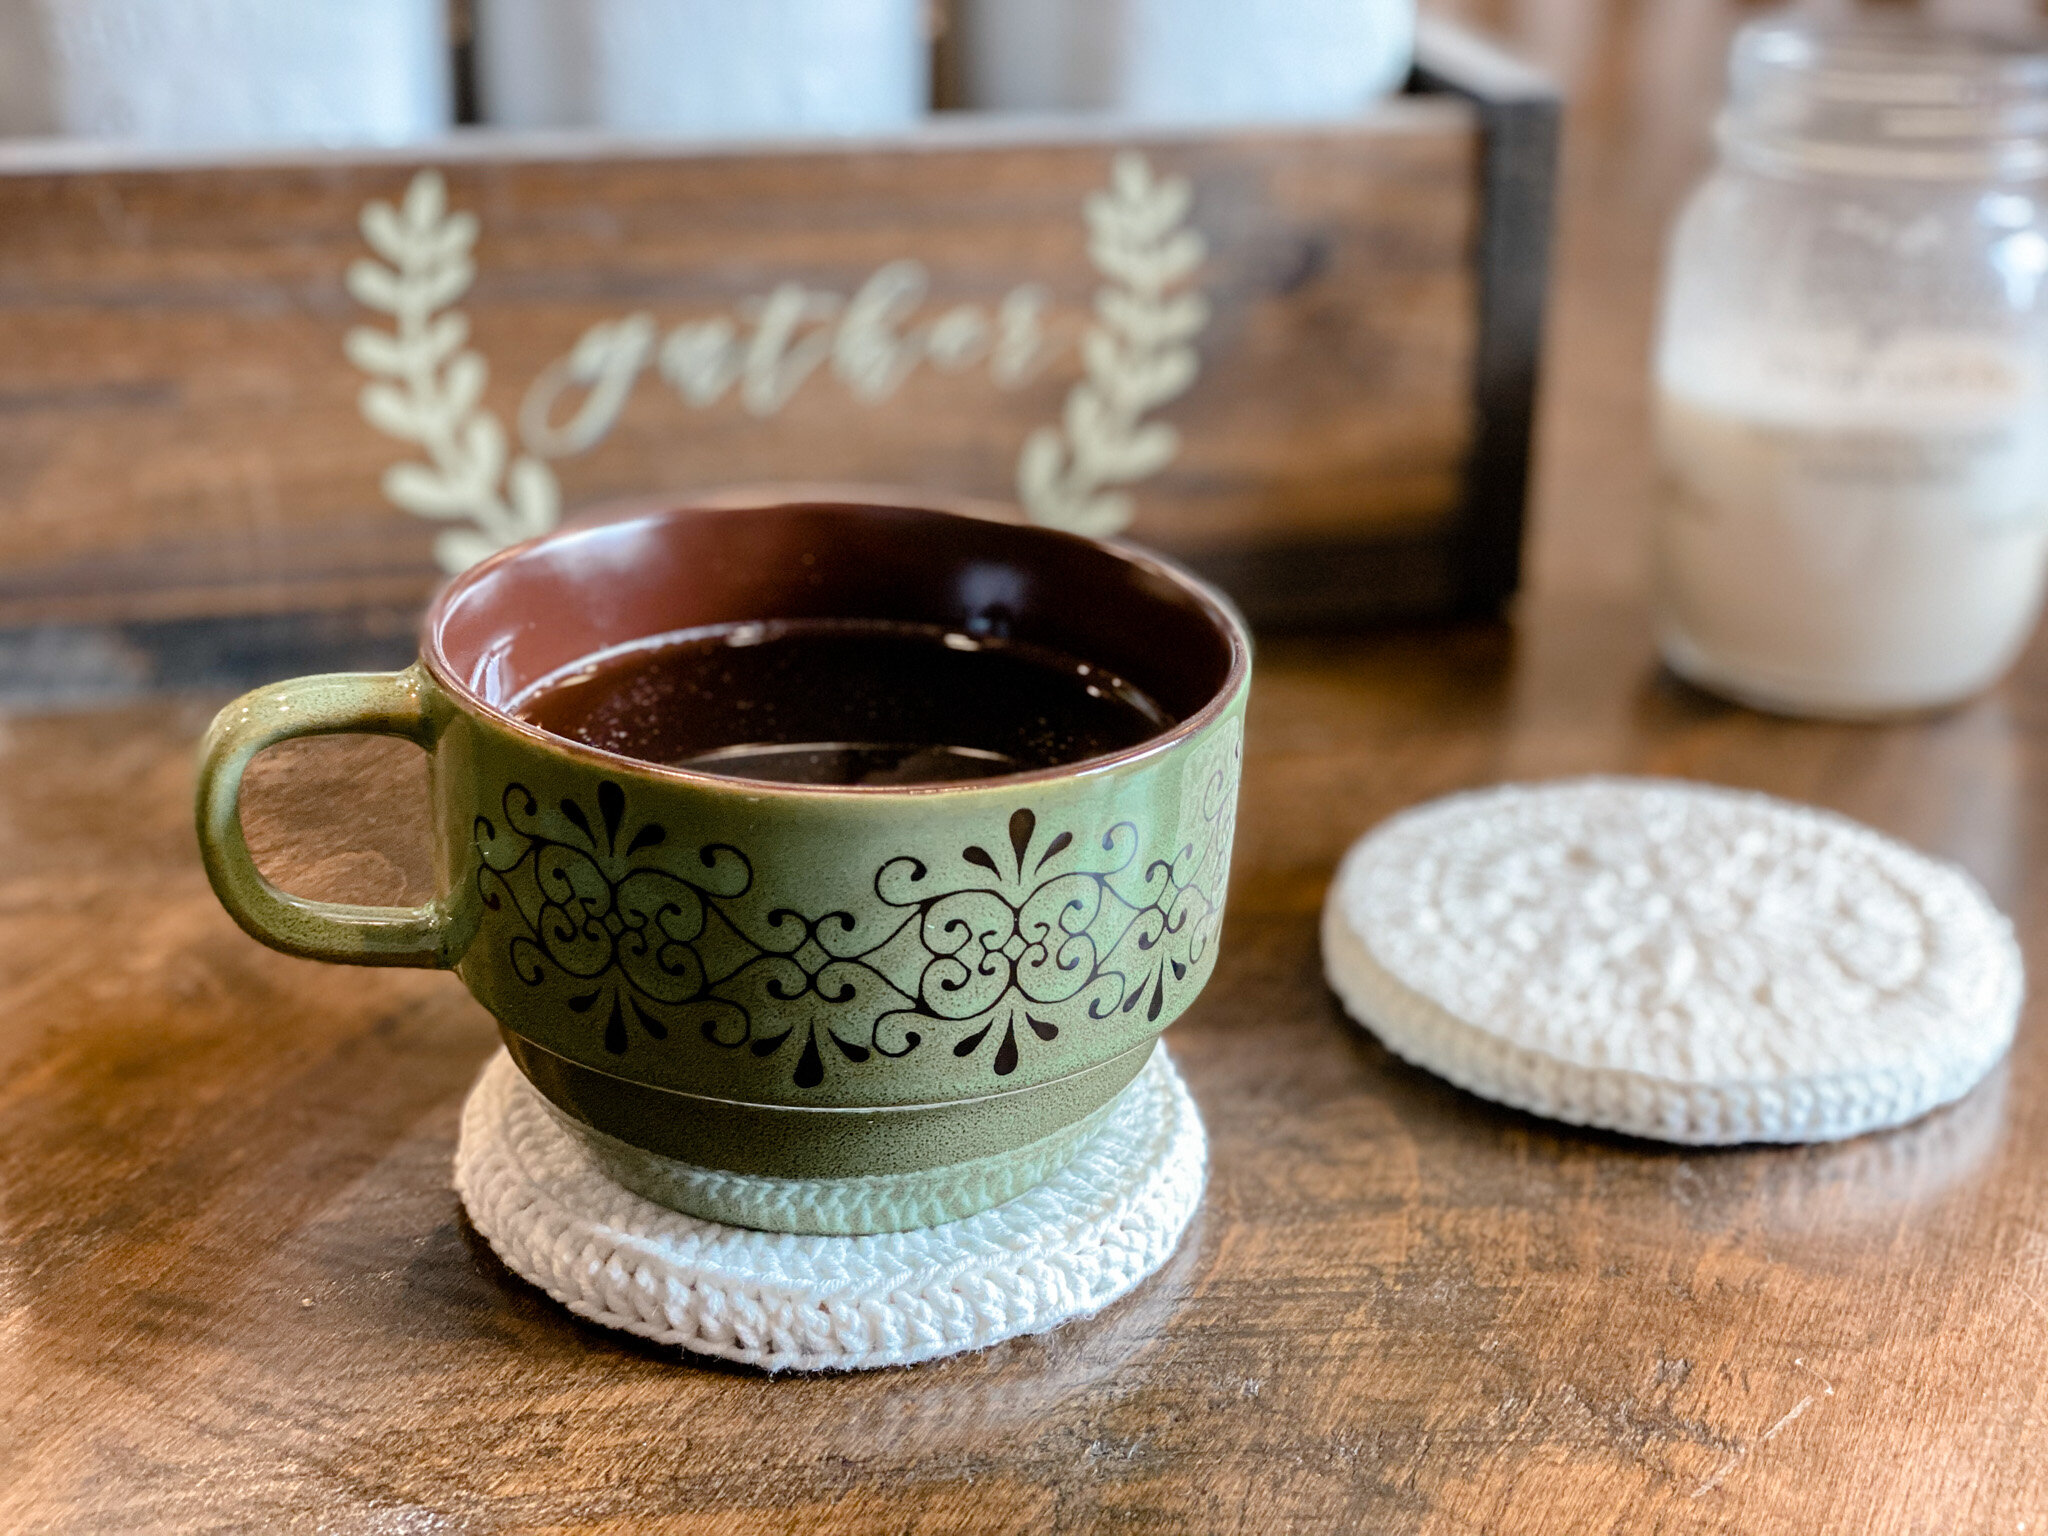
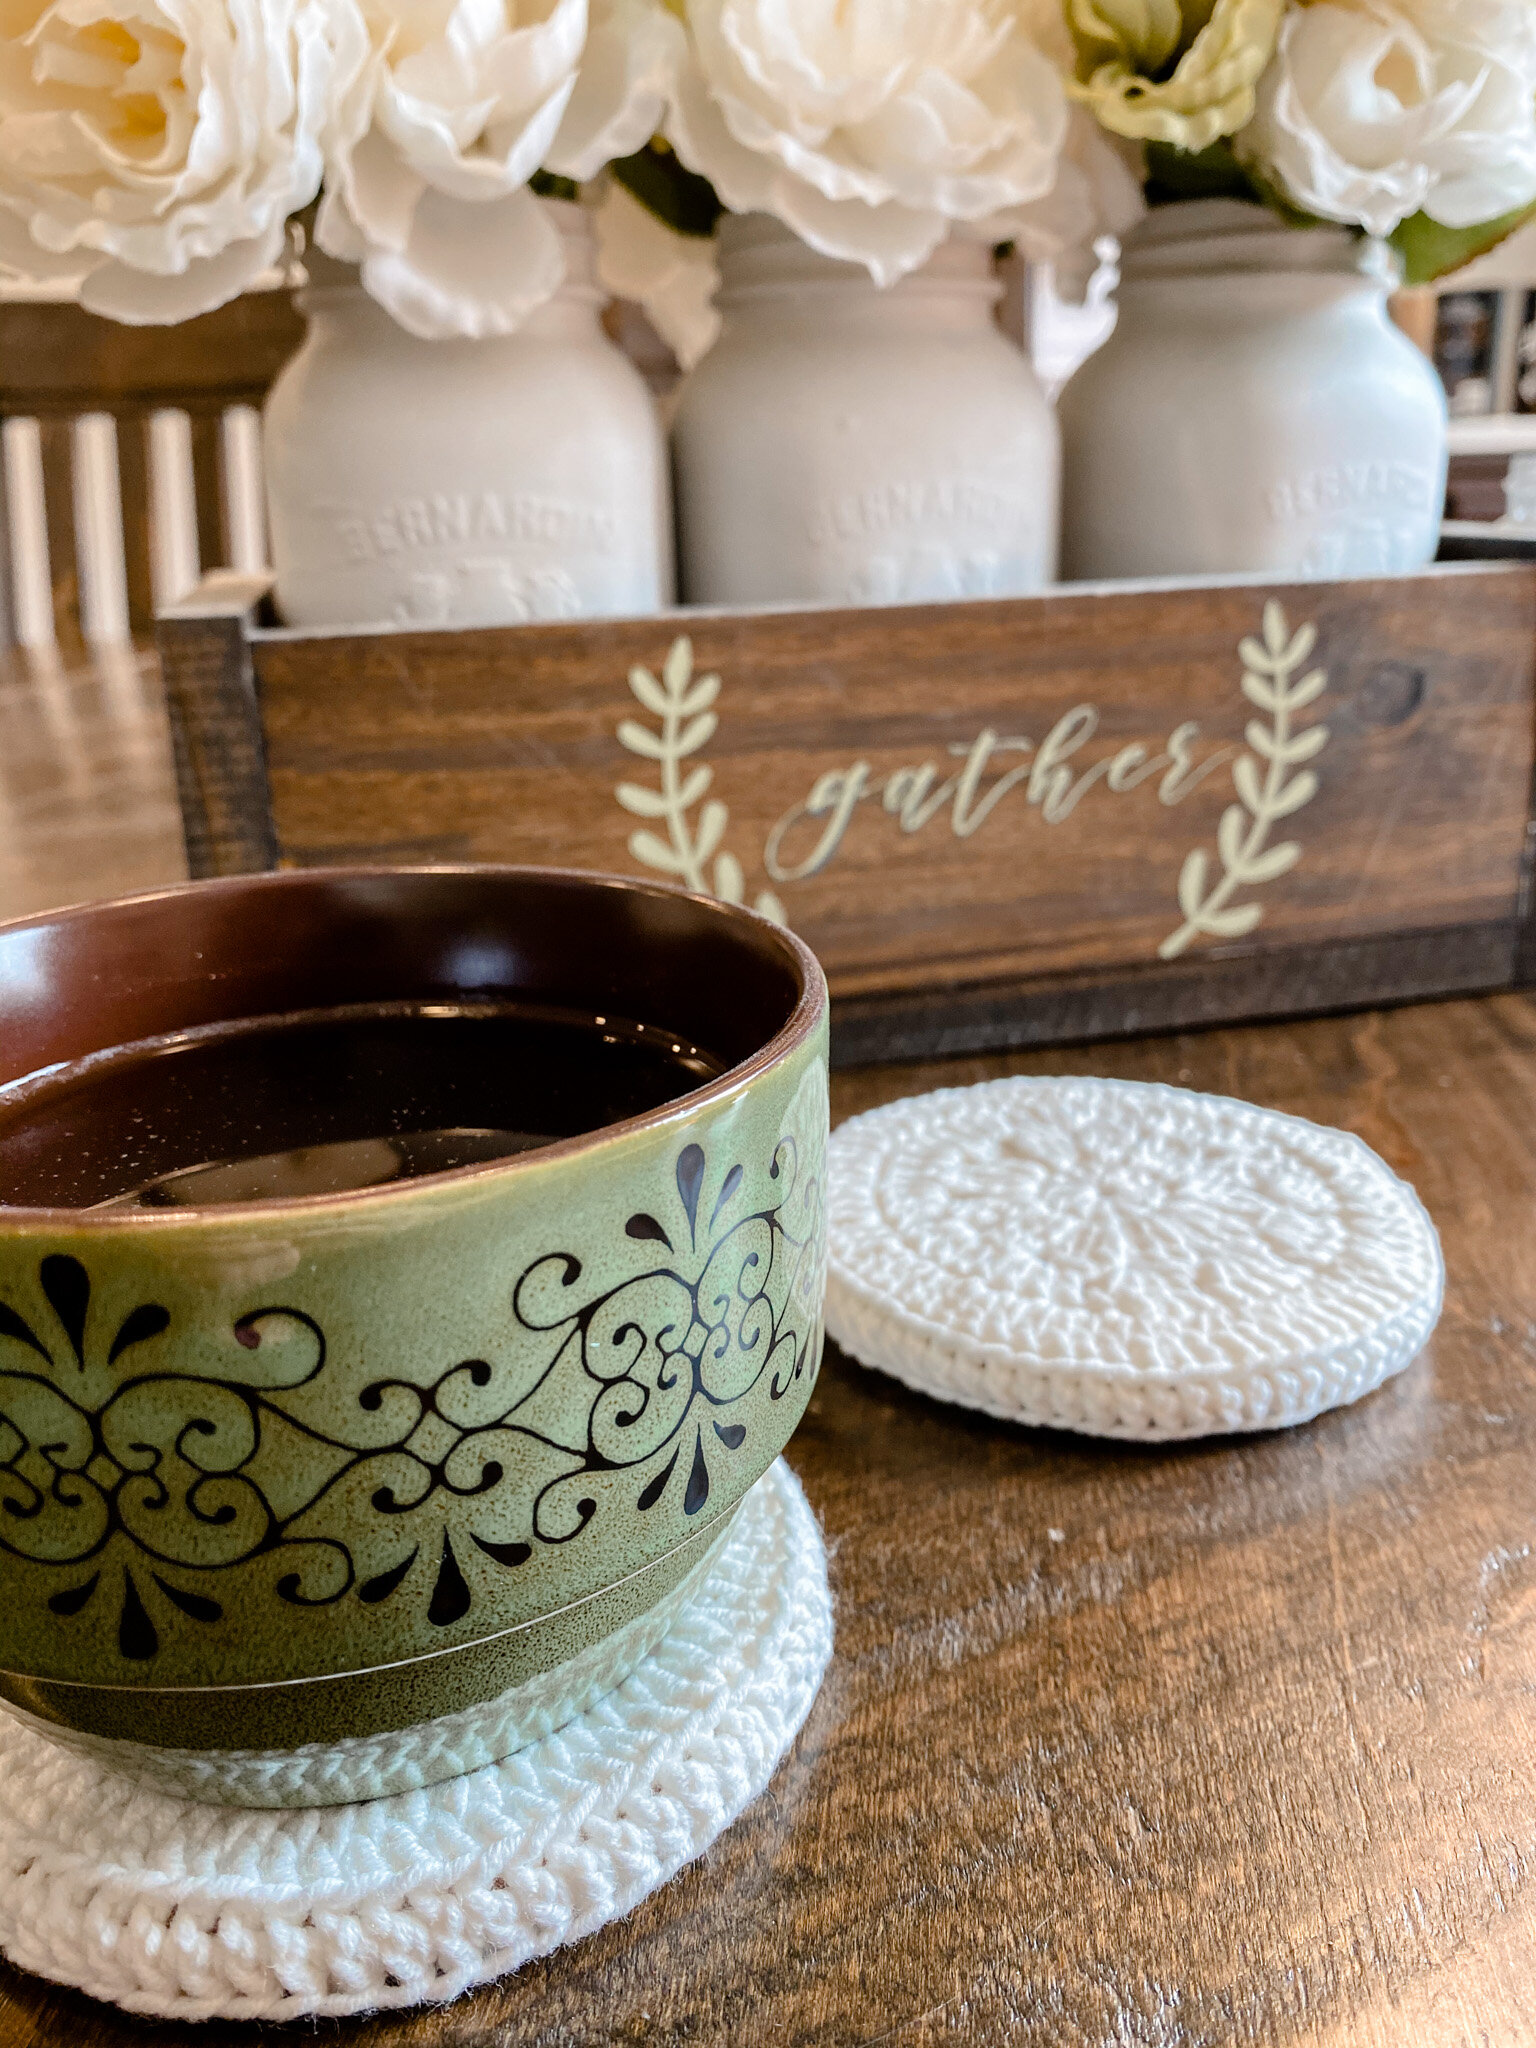
These Creamy Coasters are crocheted in the round and slip easily over a cork base so they’re removable, washable and feel elegant and beautiful!
They’re also fully customizable to any size coaster base and/or yarn weight so it’s a great project for yarn scraps!
My posts may contain affiliate links that help support the content on my site at no extra cost to you, so I can keep bringing you free patterns to enjoy and share with the world. Please review my Privacy Policy for more details, including my Copyright Policy about pattern making, credit and sharing. Happy crafting!
Making time: ~10 minutes per coaster
Materials needed:
Yarn, ~25 yds of Light/DK yarn, preferably cotton or a cotton blend for easy care and keeping its shape
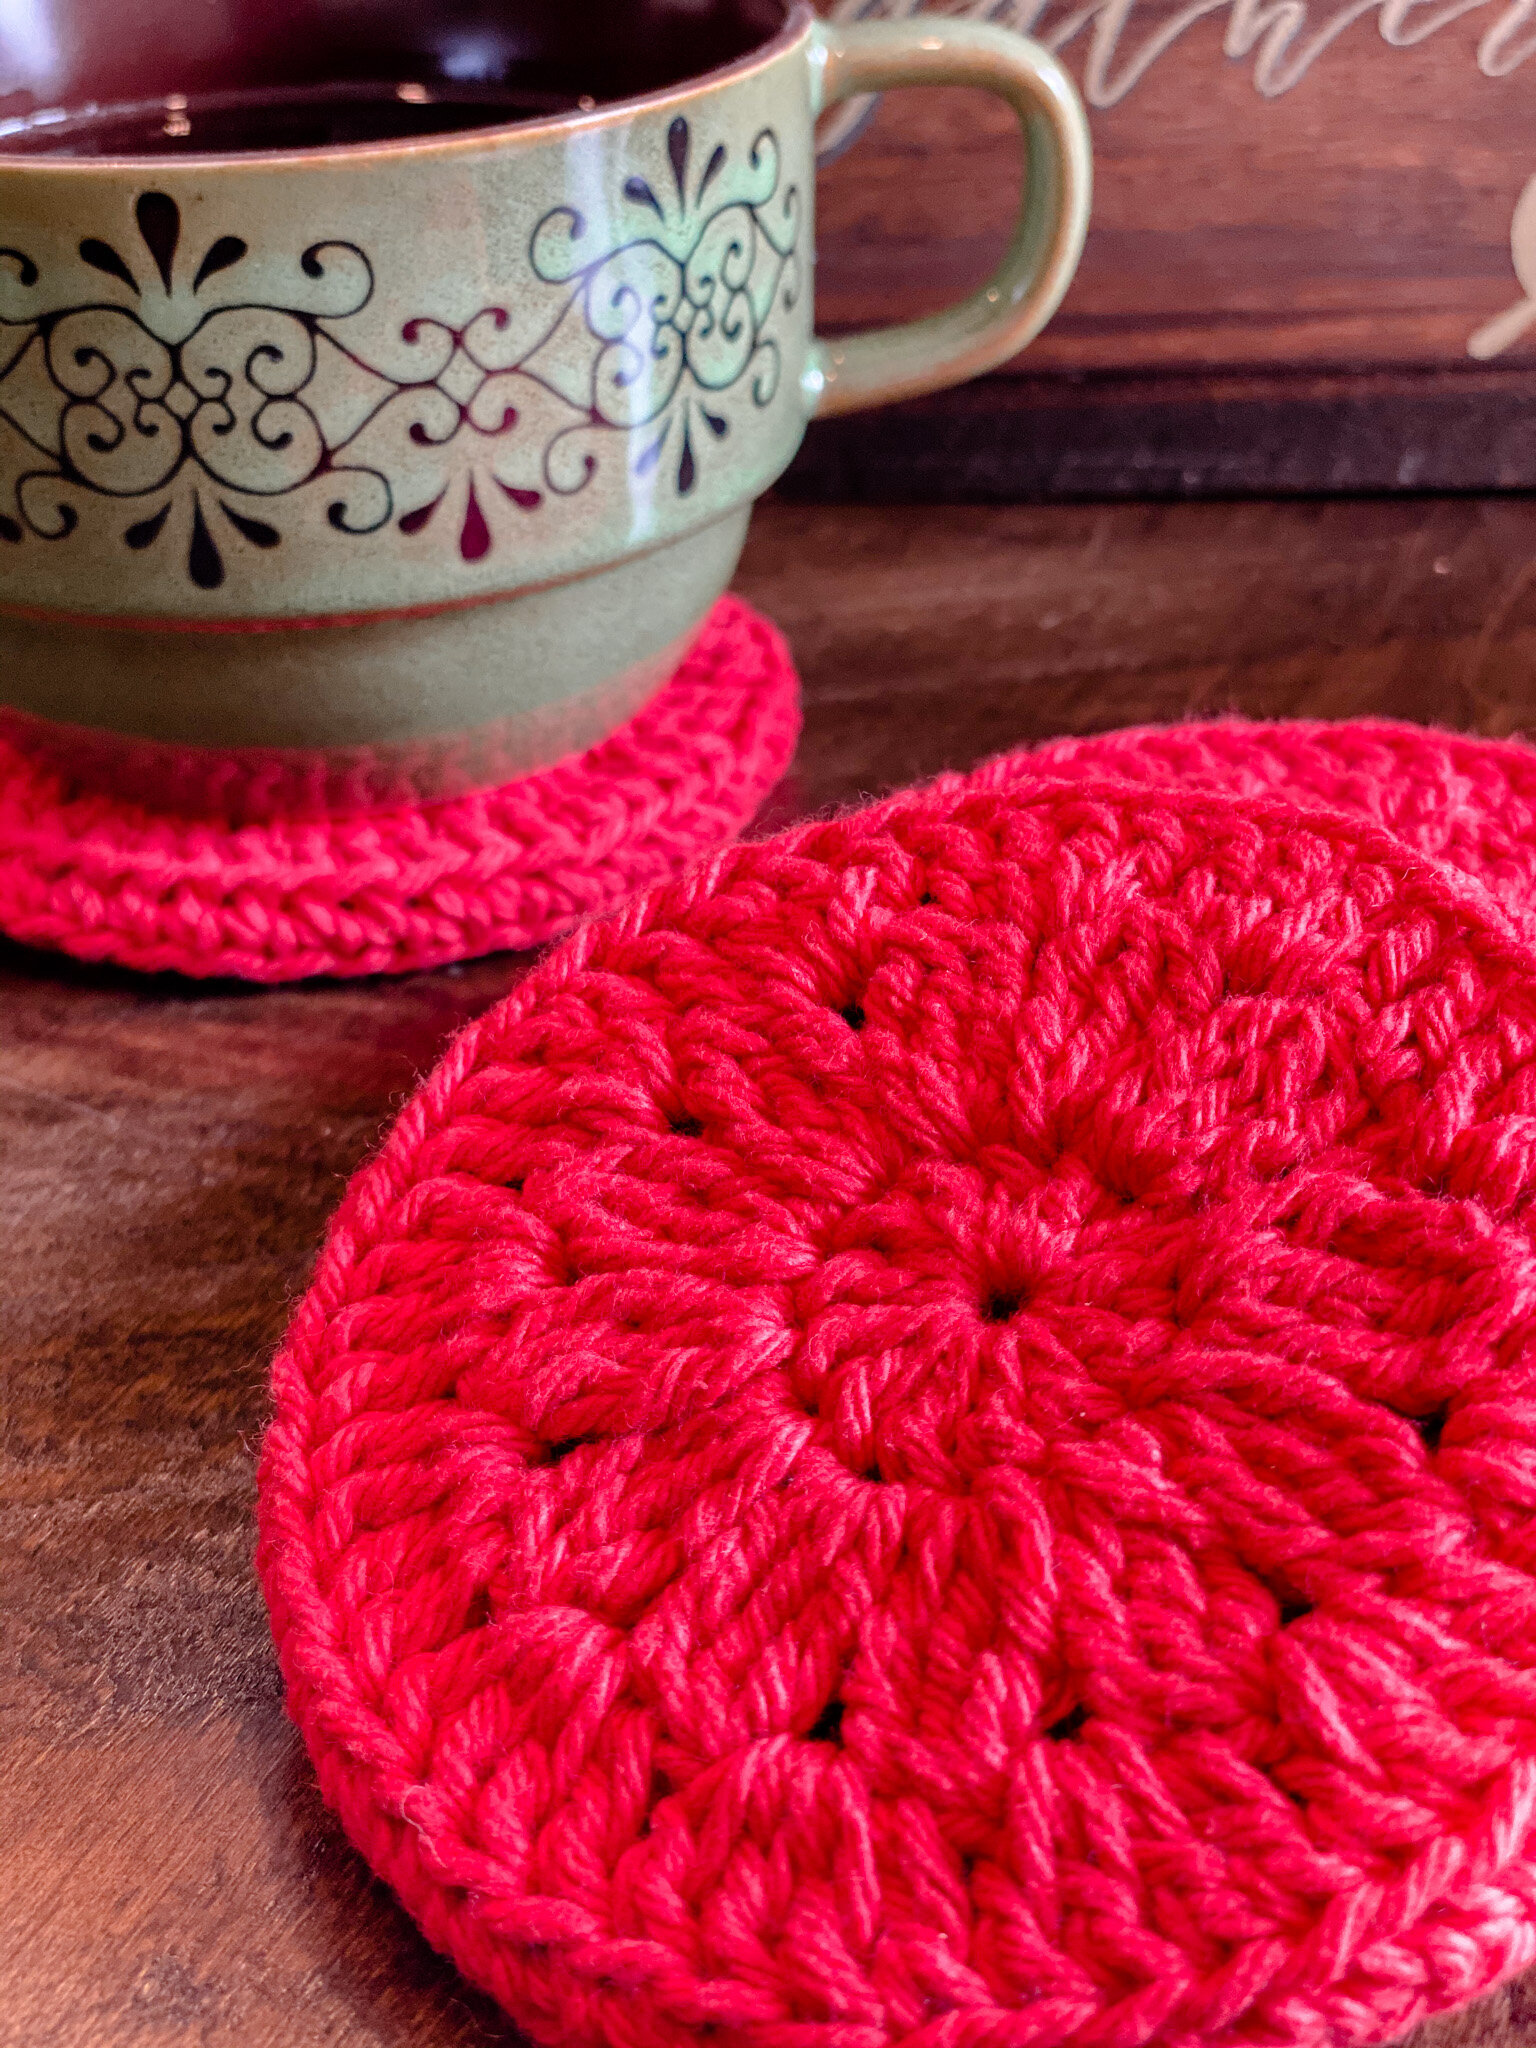
I used Caron Cotton Cakes in White (exclusive to Michaels Stores, colours vary by season) and Bernat Handicrafter in Red
A perfect substitute is this Lion Brand Comfy Cotton Blend, you can make 15 coasters with one ball!
KnitPicks has some great Dishie Yarn cotton options in a ton of colours
Coaster Base
I’ve used cork and laminated cork coasters as my base, typically around 4” diameter
Here are the ones I used in my video (Amazon) and I’ve found holiday and plain ones that work great at Wal Mart (Canada) for just a few bucks per pack!
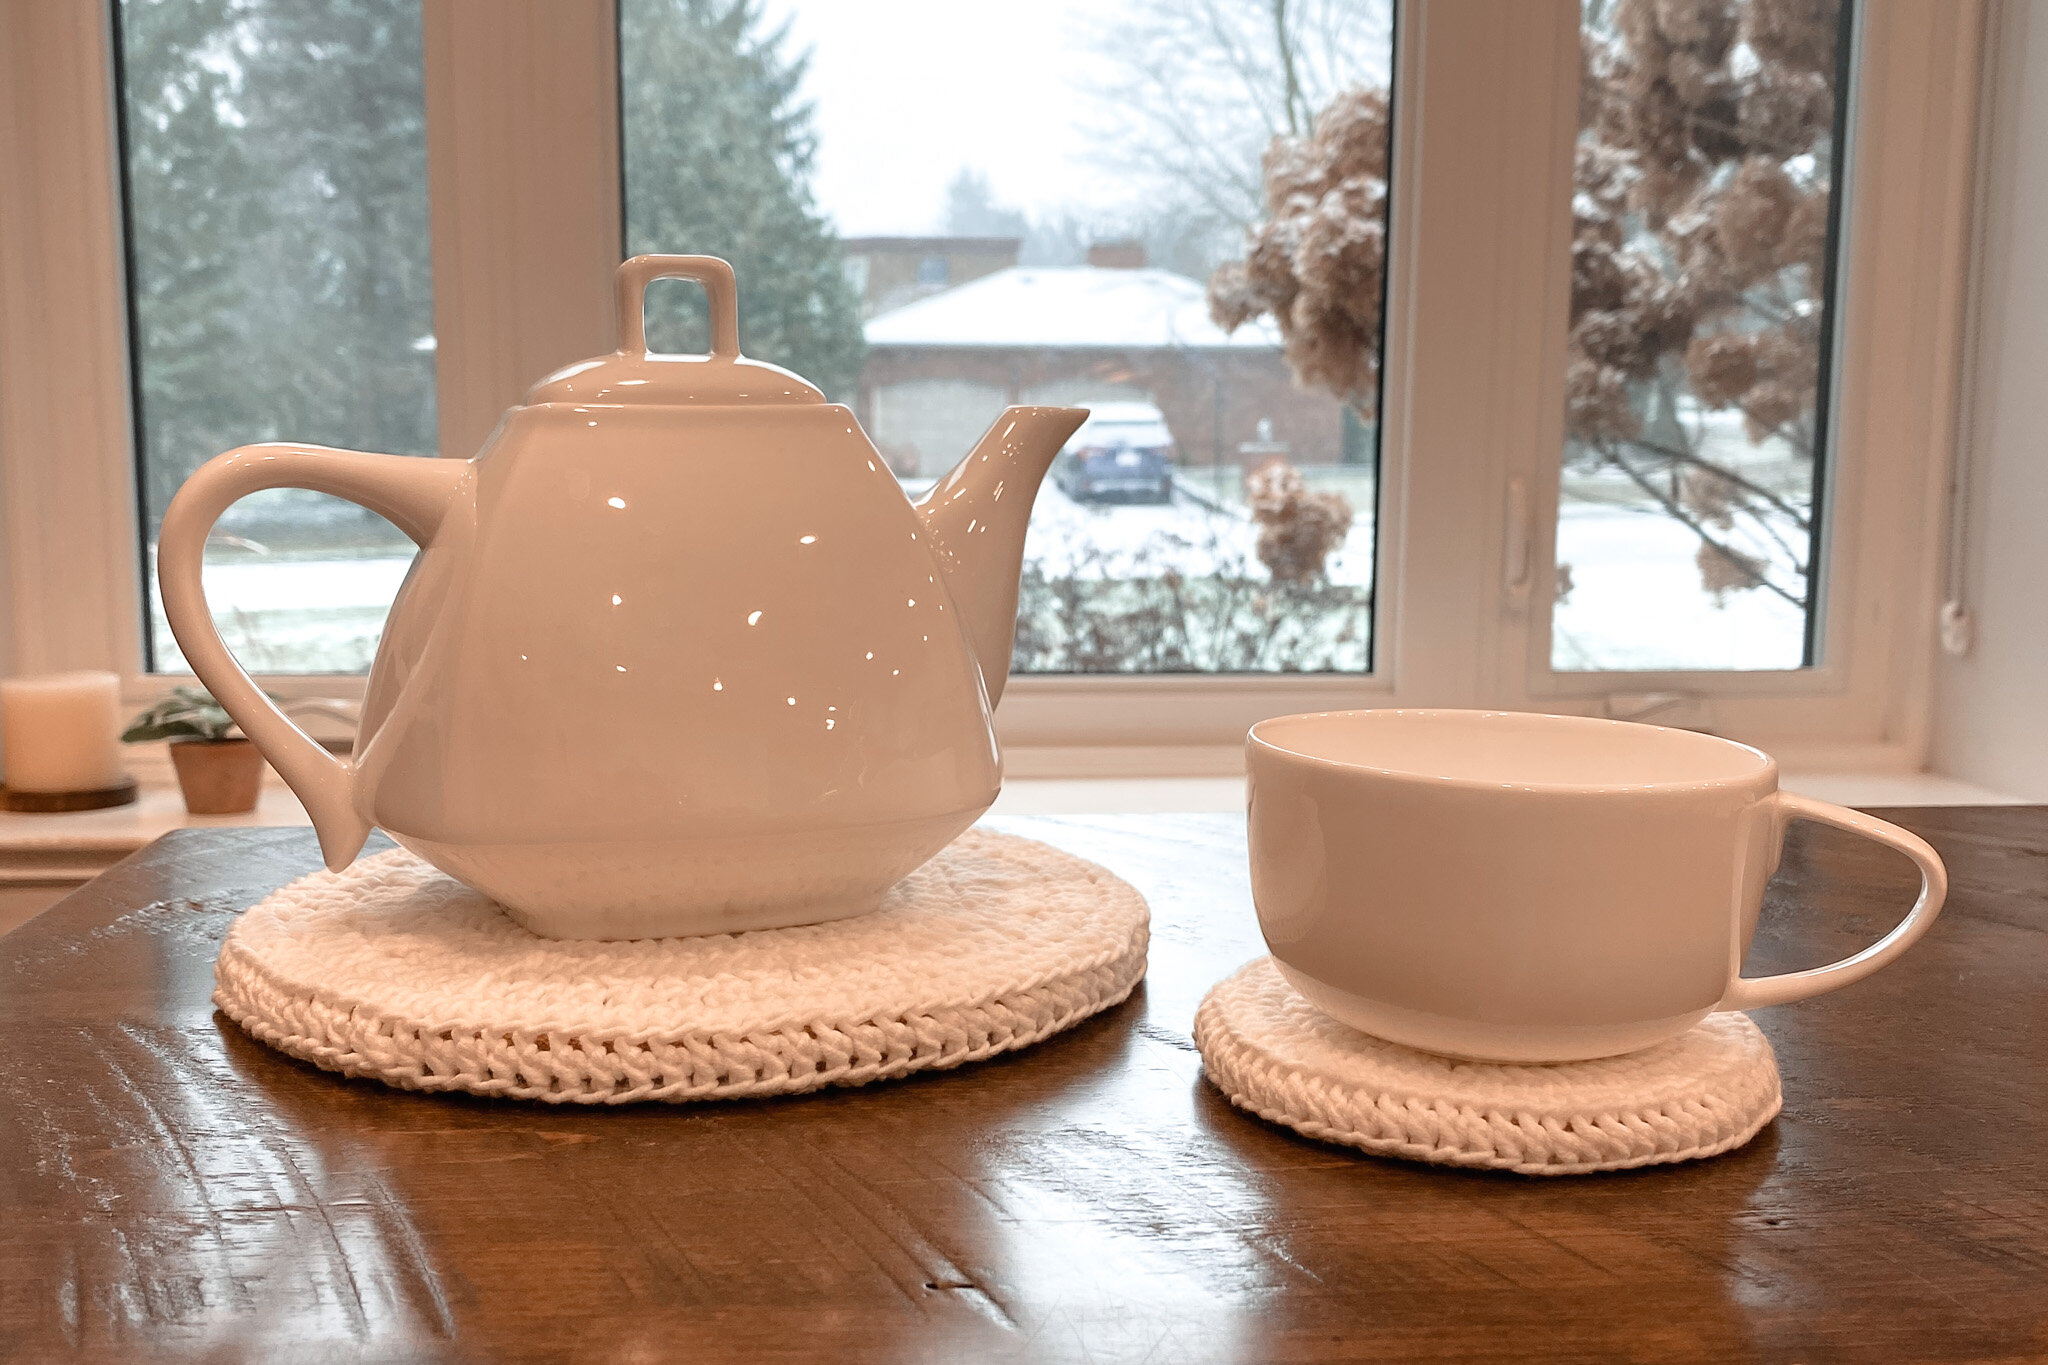
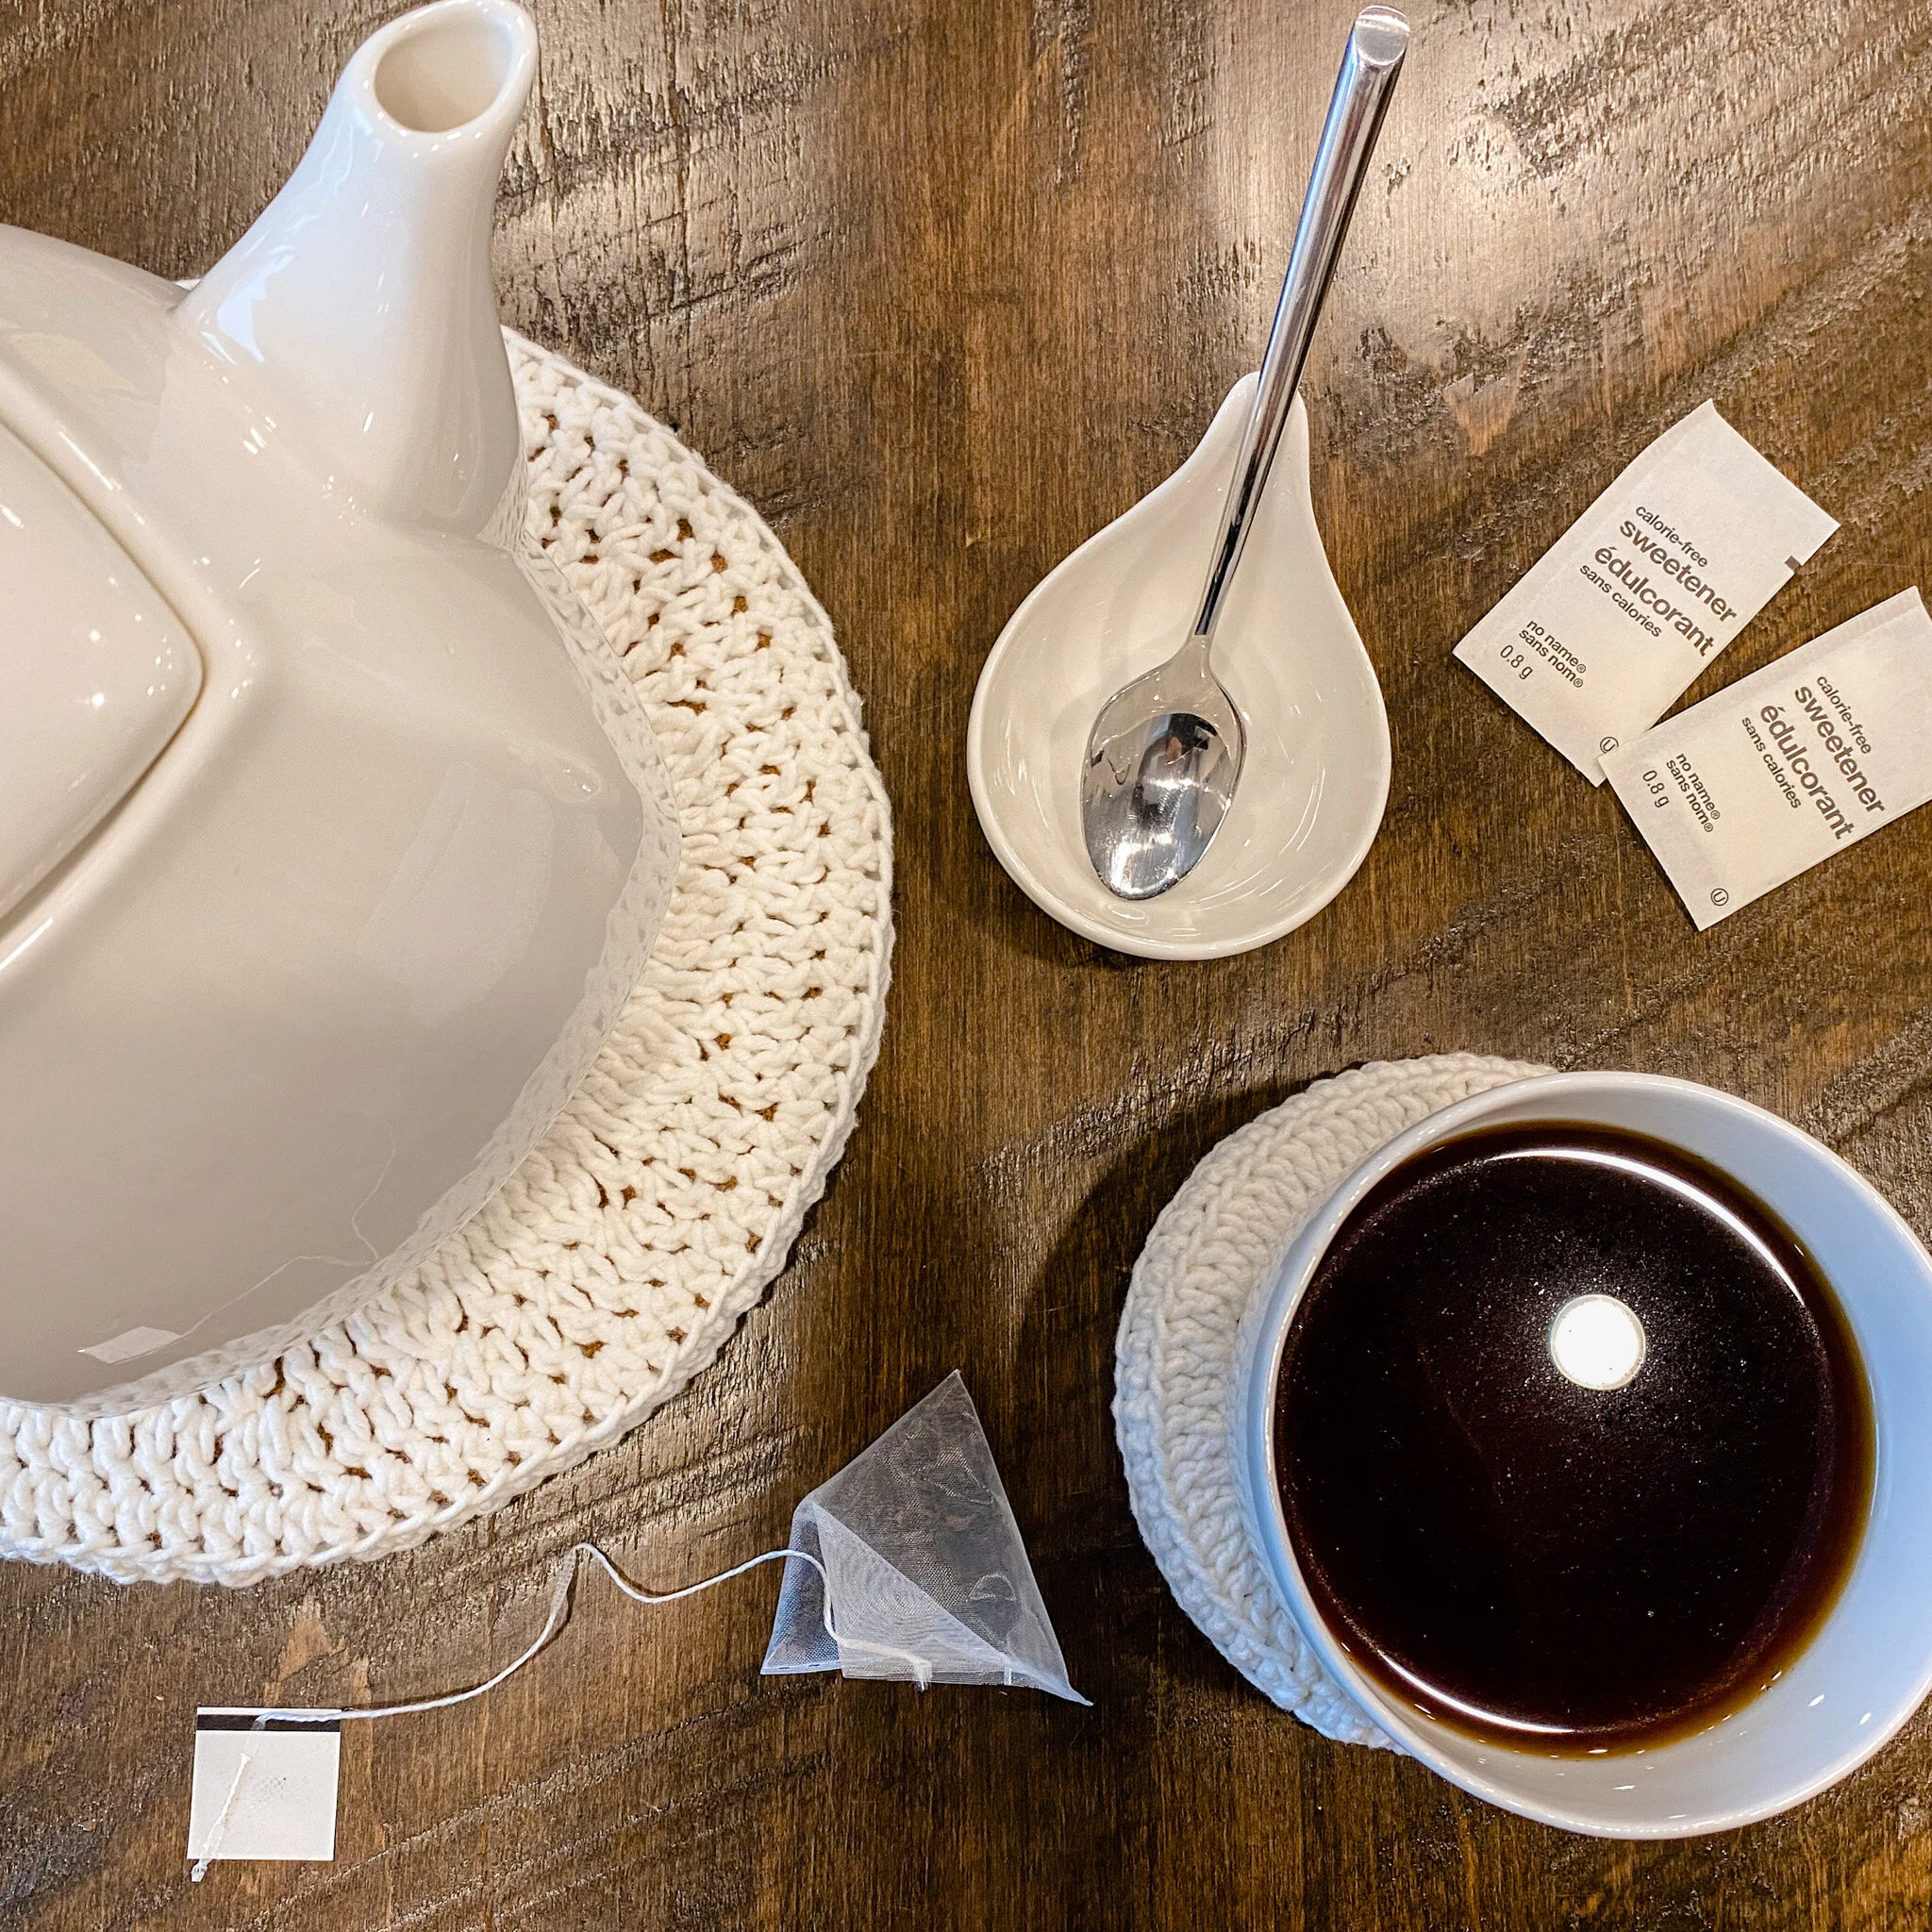
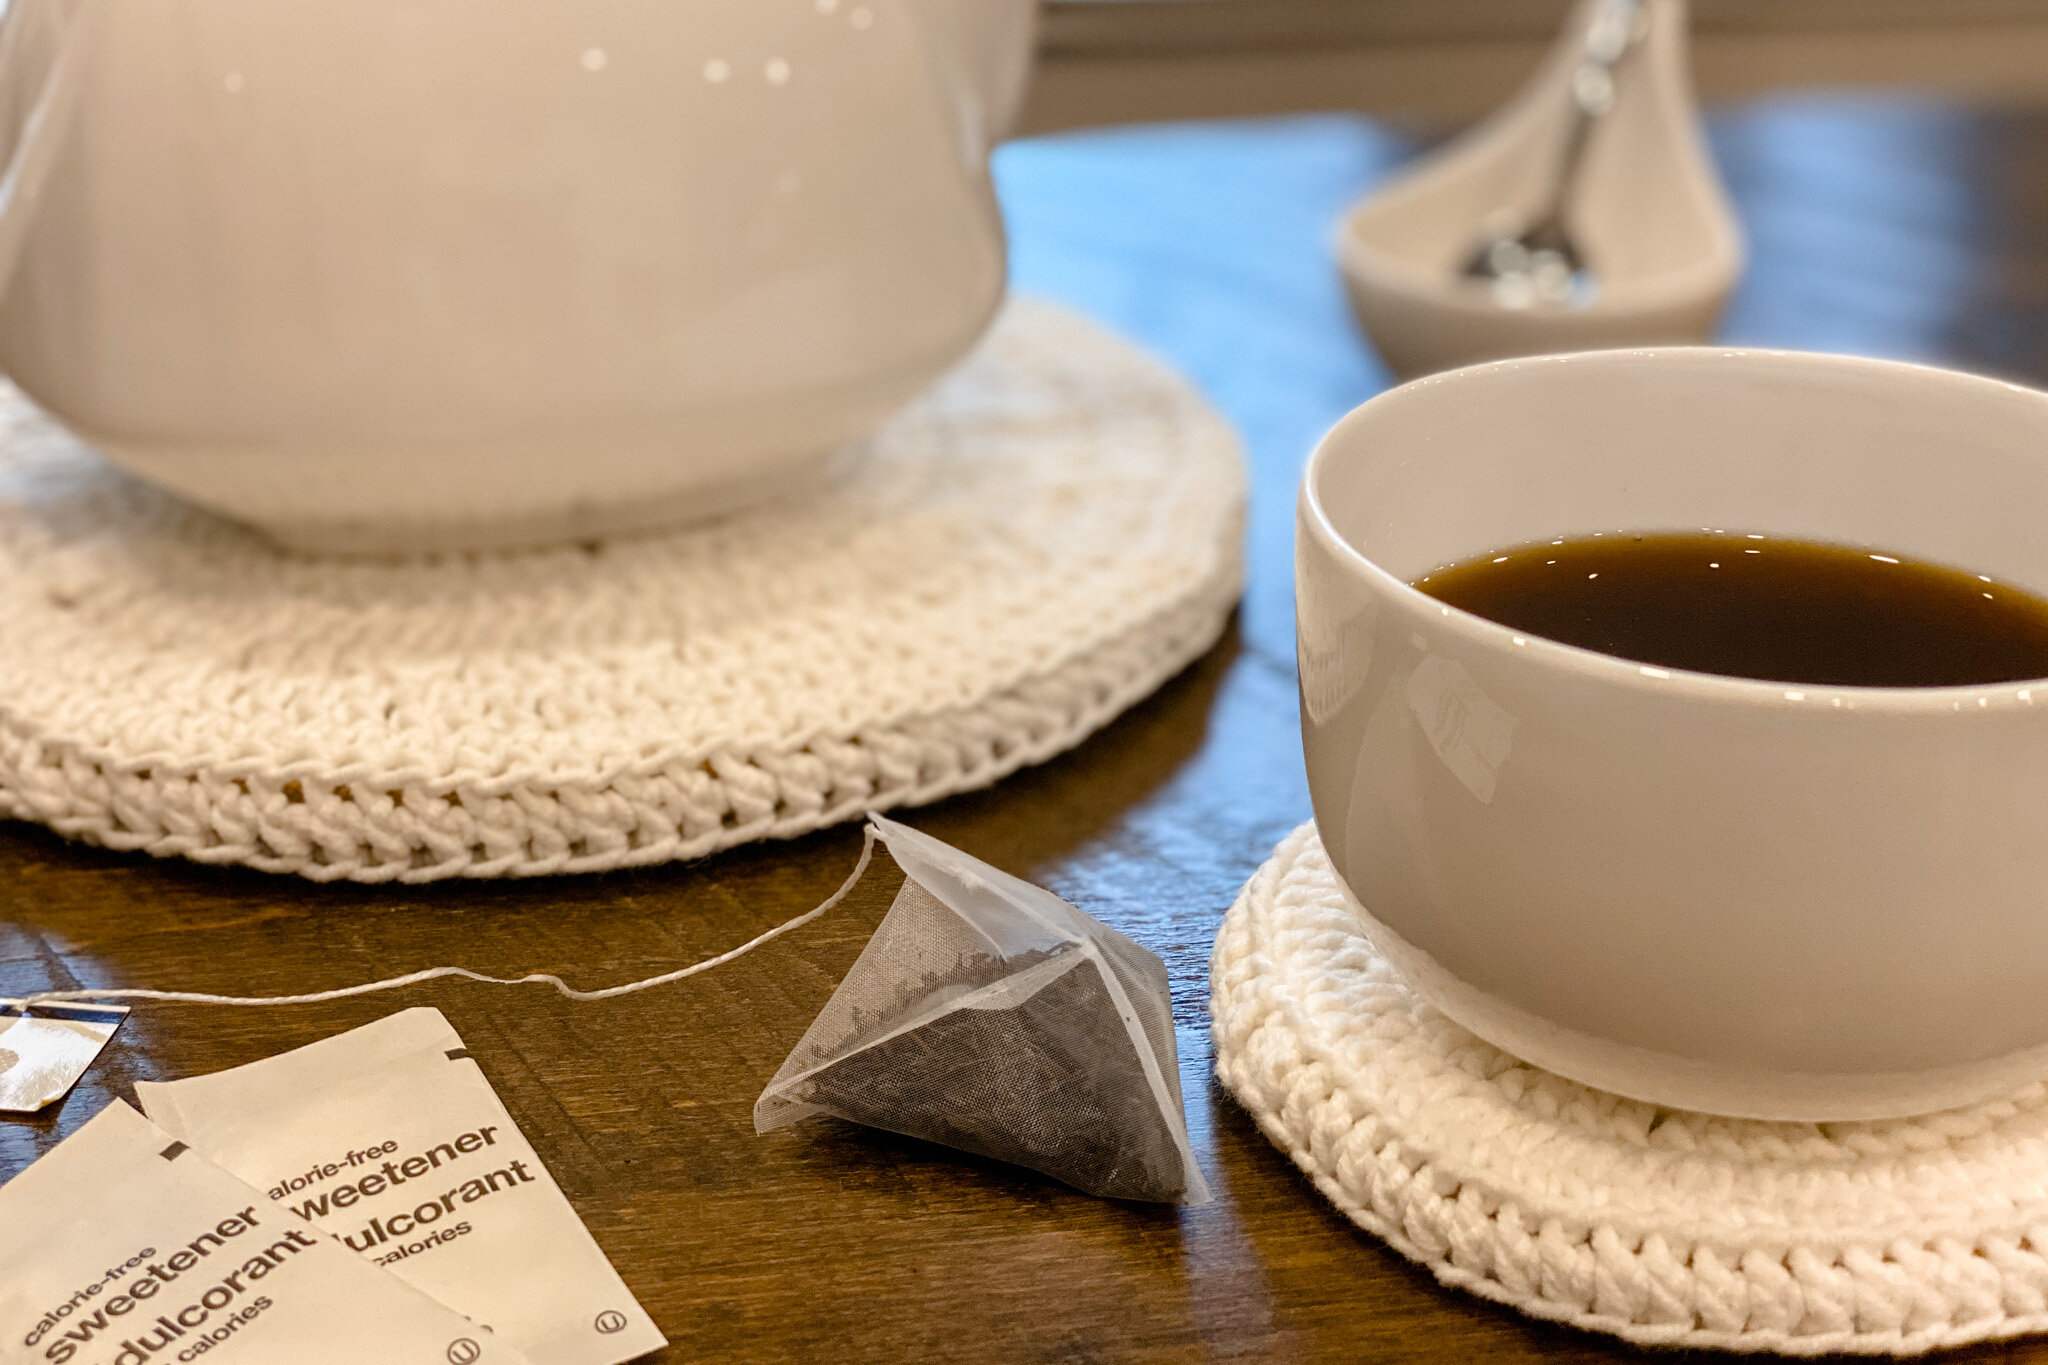
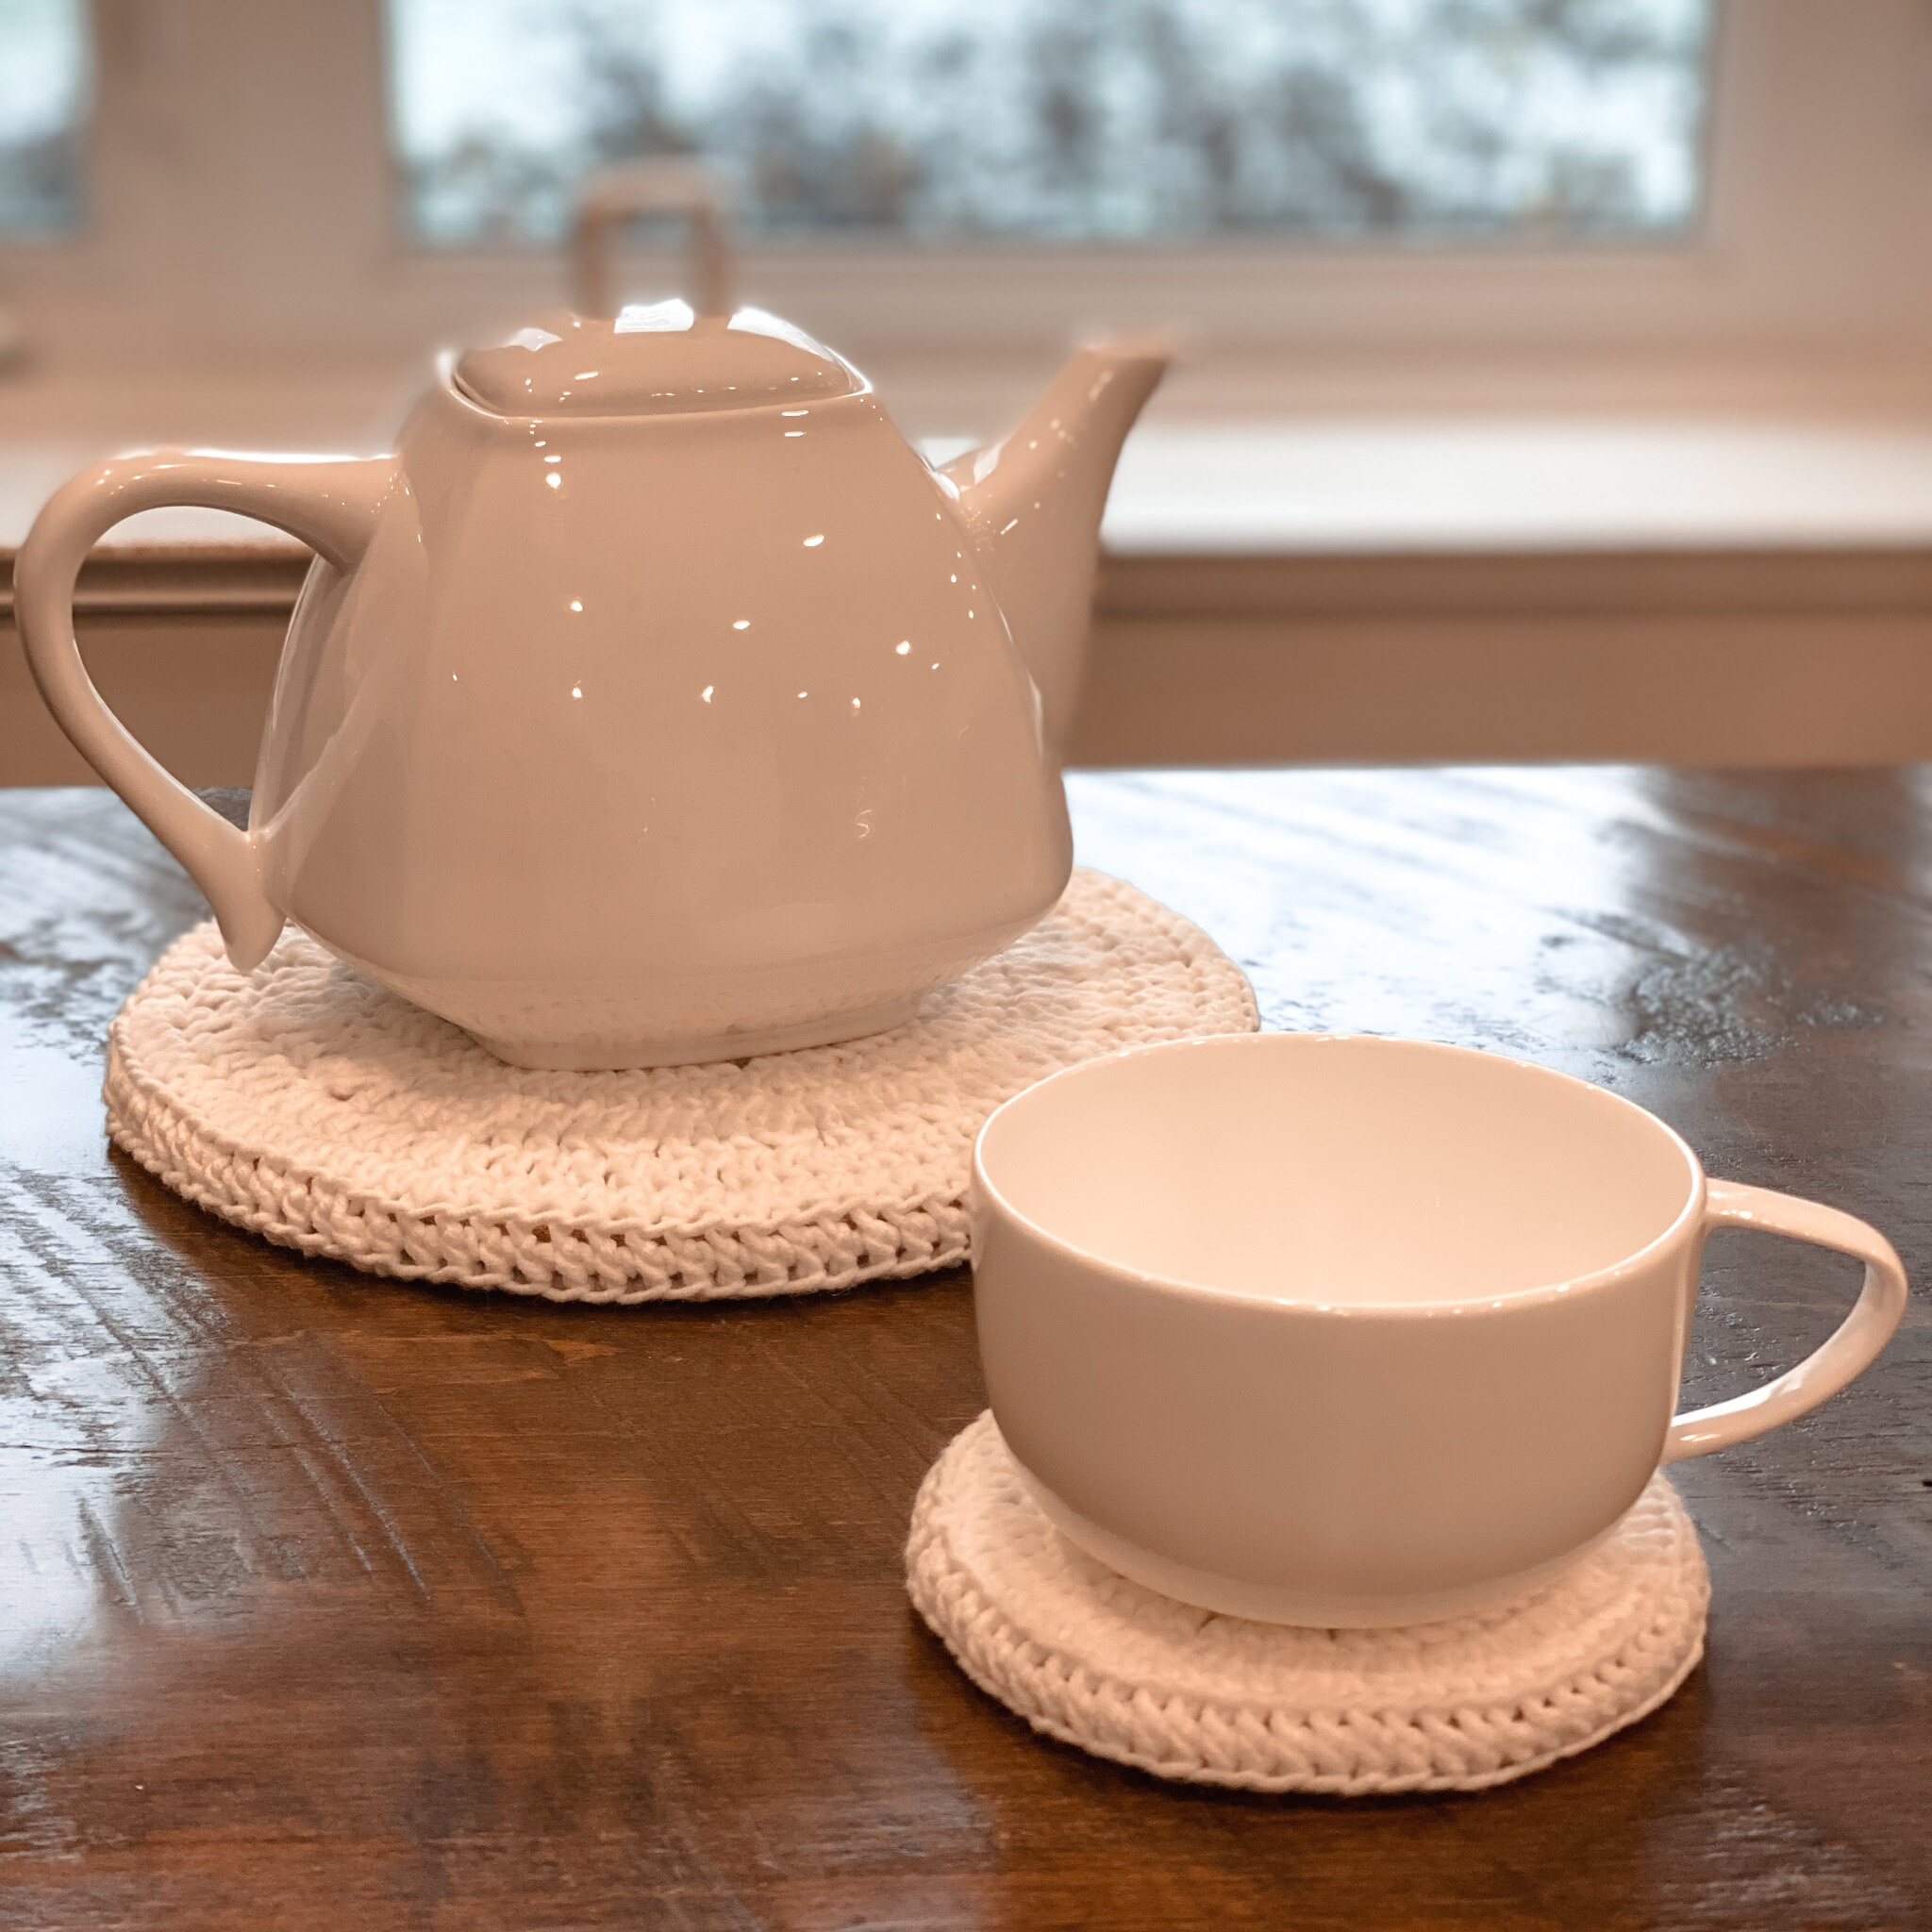
You’ll see a big teapot coaster in the pictures too, that’s also using a cork base hot pad from Wal Mart
Don’t worry too much about the size, I have lots of details about how to adjust for size in the pattern below!
Crochet Hook
Appropriately sized for your yarn, I used a 3.5mm and a 4mm for the ones in the picture, I prefer metal hooks (mine are these!)
I sized down my hook to make sure the stitches are nice and tight!
Scissors
Tapestry needle for finishing
Pattern:

Watch the video for a full tutorial!
Note: throughout the pattern I use ch stitches to start each round, but I ignore these ch st in the overall st counts and when slip stitches to join rounds. This helps avoid gaps.
Special Stitch
Treble Cluster: *yo twice, insert into st, yo, pull through stitch, yo, pull through 2 loops on hook, yo, pull through 2 loops on hook*, repeat 3 times total in the same stitch, yo, pull through all 4 loops on hook
(Essentially, this is a treble crochet stitch without the last step so 3 trebles are clustered into one stitch)
Coaster Pattern
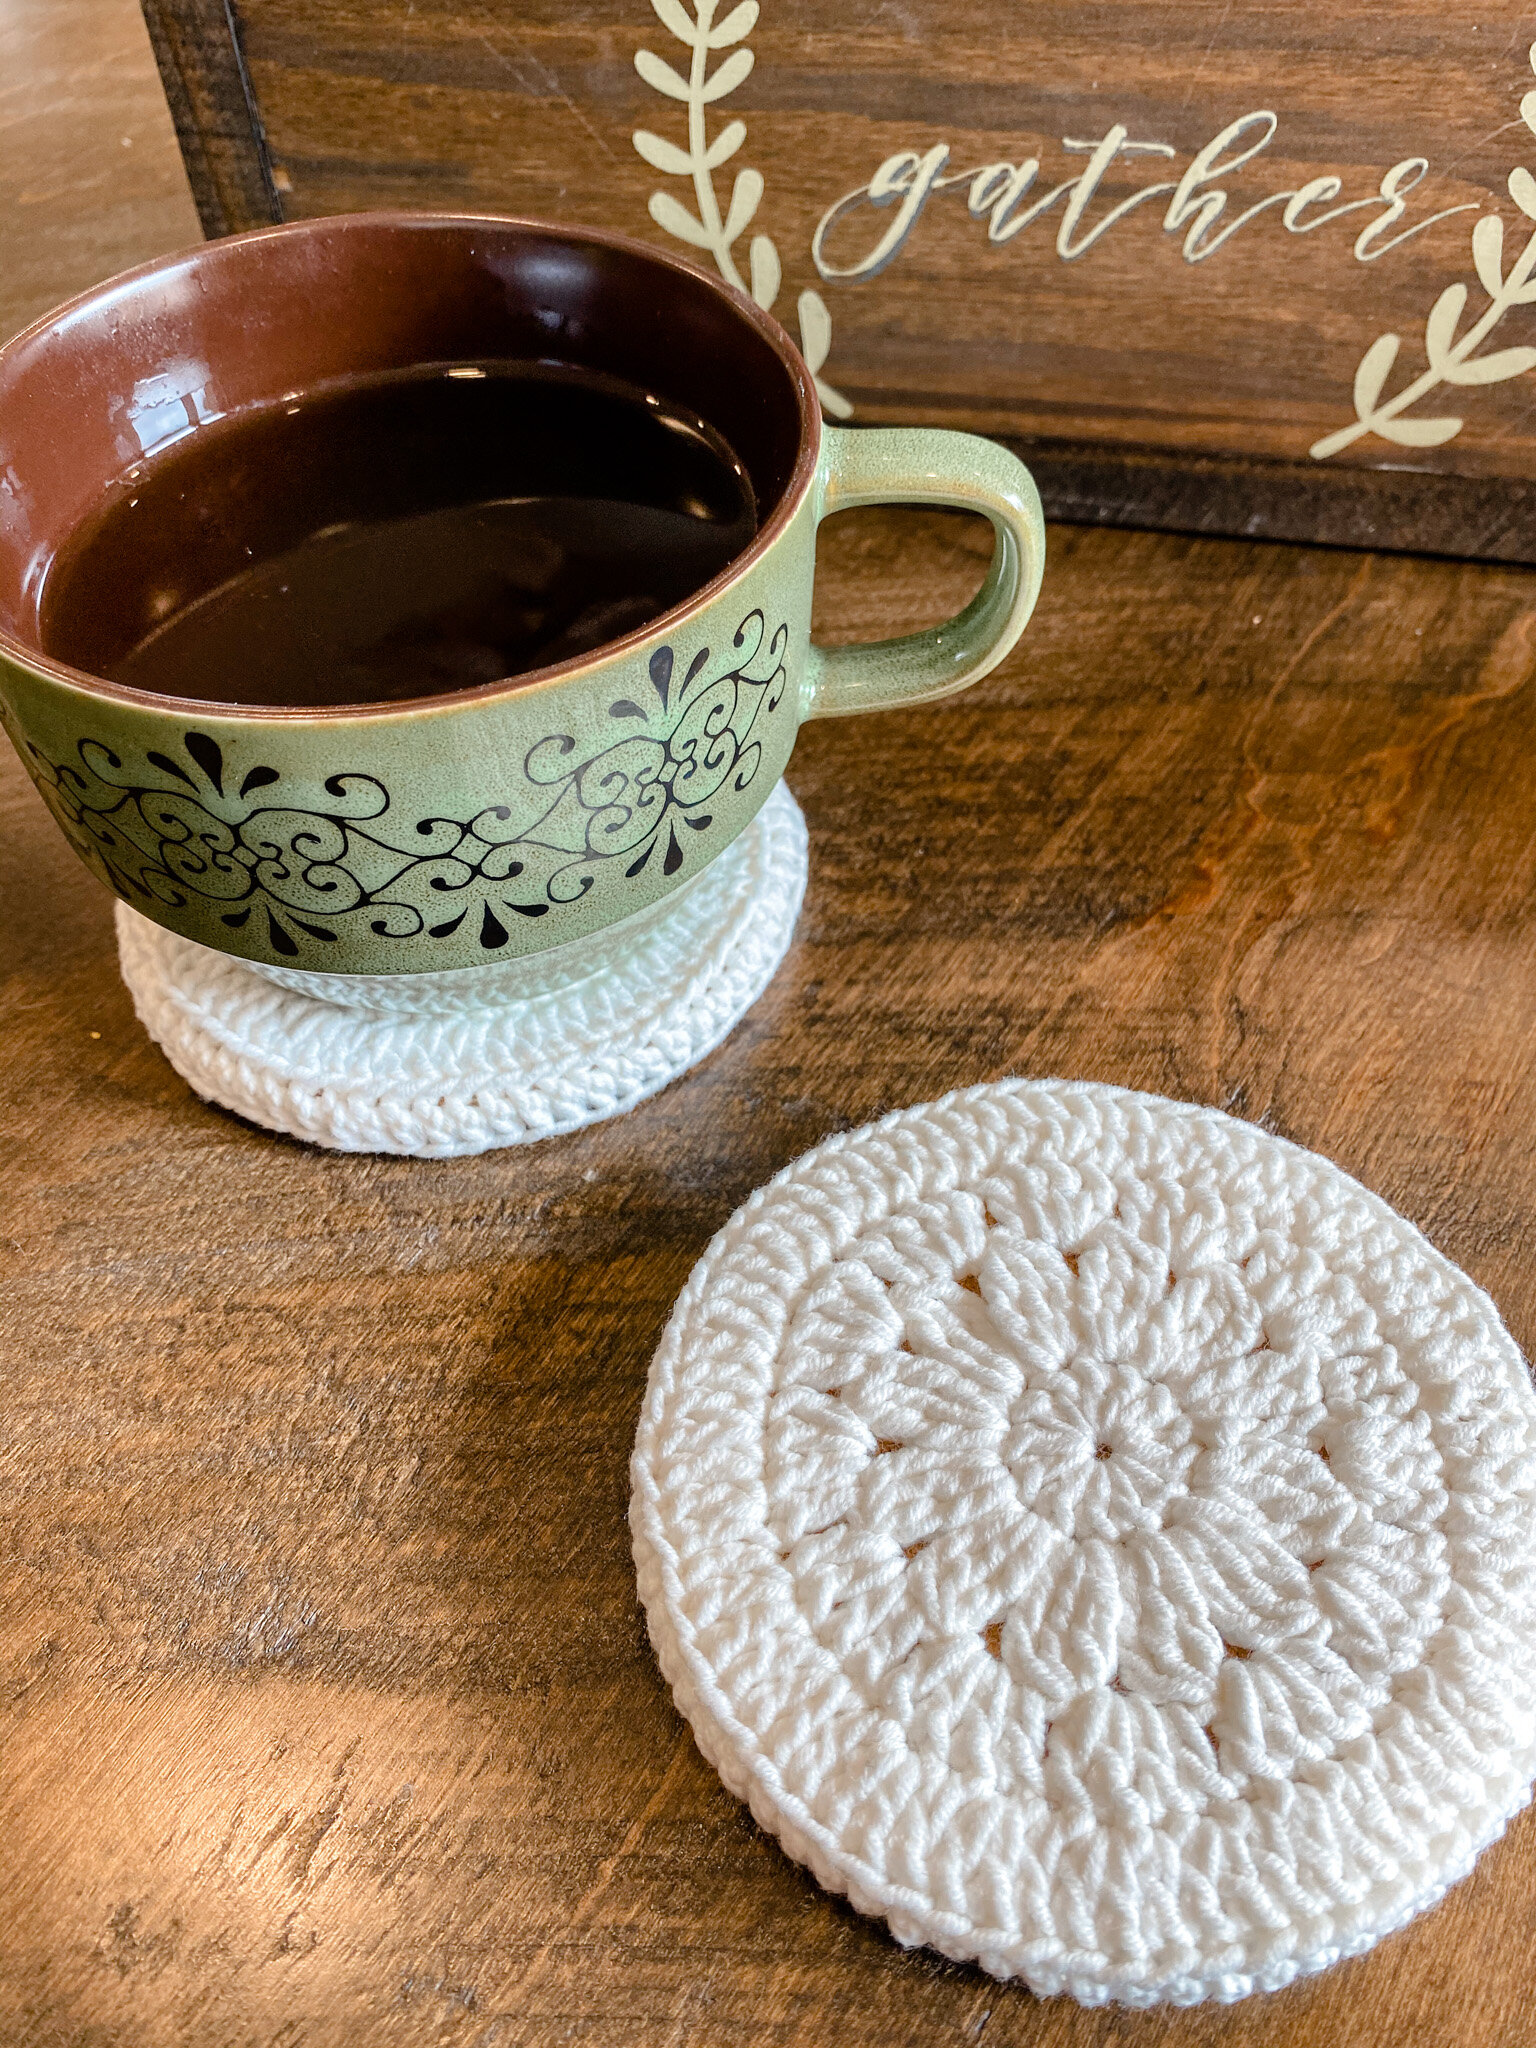
Coaster Top:
Round 1: Using the Magic Loop Method, ch 2, 12 dc into magic ring, sl st into first dc (watch my video to see how I do a magic loop!) [12 st]
Round 2: Ch 3, Treble cluster (see special stitch section, above) into the same st (the first dc from Round 1), ch 1, *Treble cluster, ch1* into each stitch around, sl st into first treble cluster to join [24 st - 12 clusters and 12 ch]
Round 3: Ch 2, dc in same st (the first treble from Round 2), 3dc in ch space, *dc in next st, 3dc in ch space* around, sl st into first dc to join [48 dc total]
Round 4: Ch 2, 2dc in the same st (the first dc from Round 3), dc in the next st, *2dc, dc* around, sl st into top of first dc to join [72 dc total]
Coaster Side:
Round 5: Ch 2, working in the back loops only (BLO), hdc in the same st (the first dc from Round 4) and around, sl st into top of first hdc to join [72 hdc total]
Coaster Back:
Round 6: Ch 2, working in the BLO, hdc2tog in the same st (the first hdc from Round 5), hdc, *hdc2tog, hdc* around, sl st into top of first hdc2tog to join [48 st total]

Bring More Yarn to your Home Decor
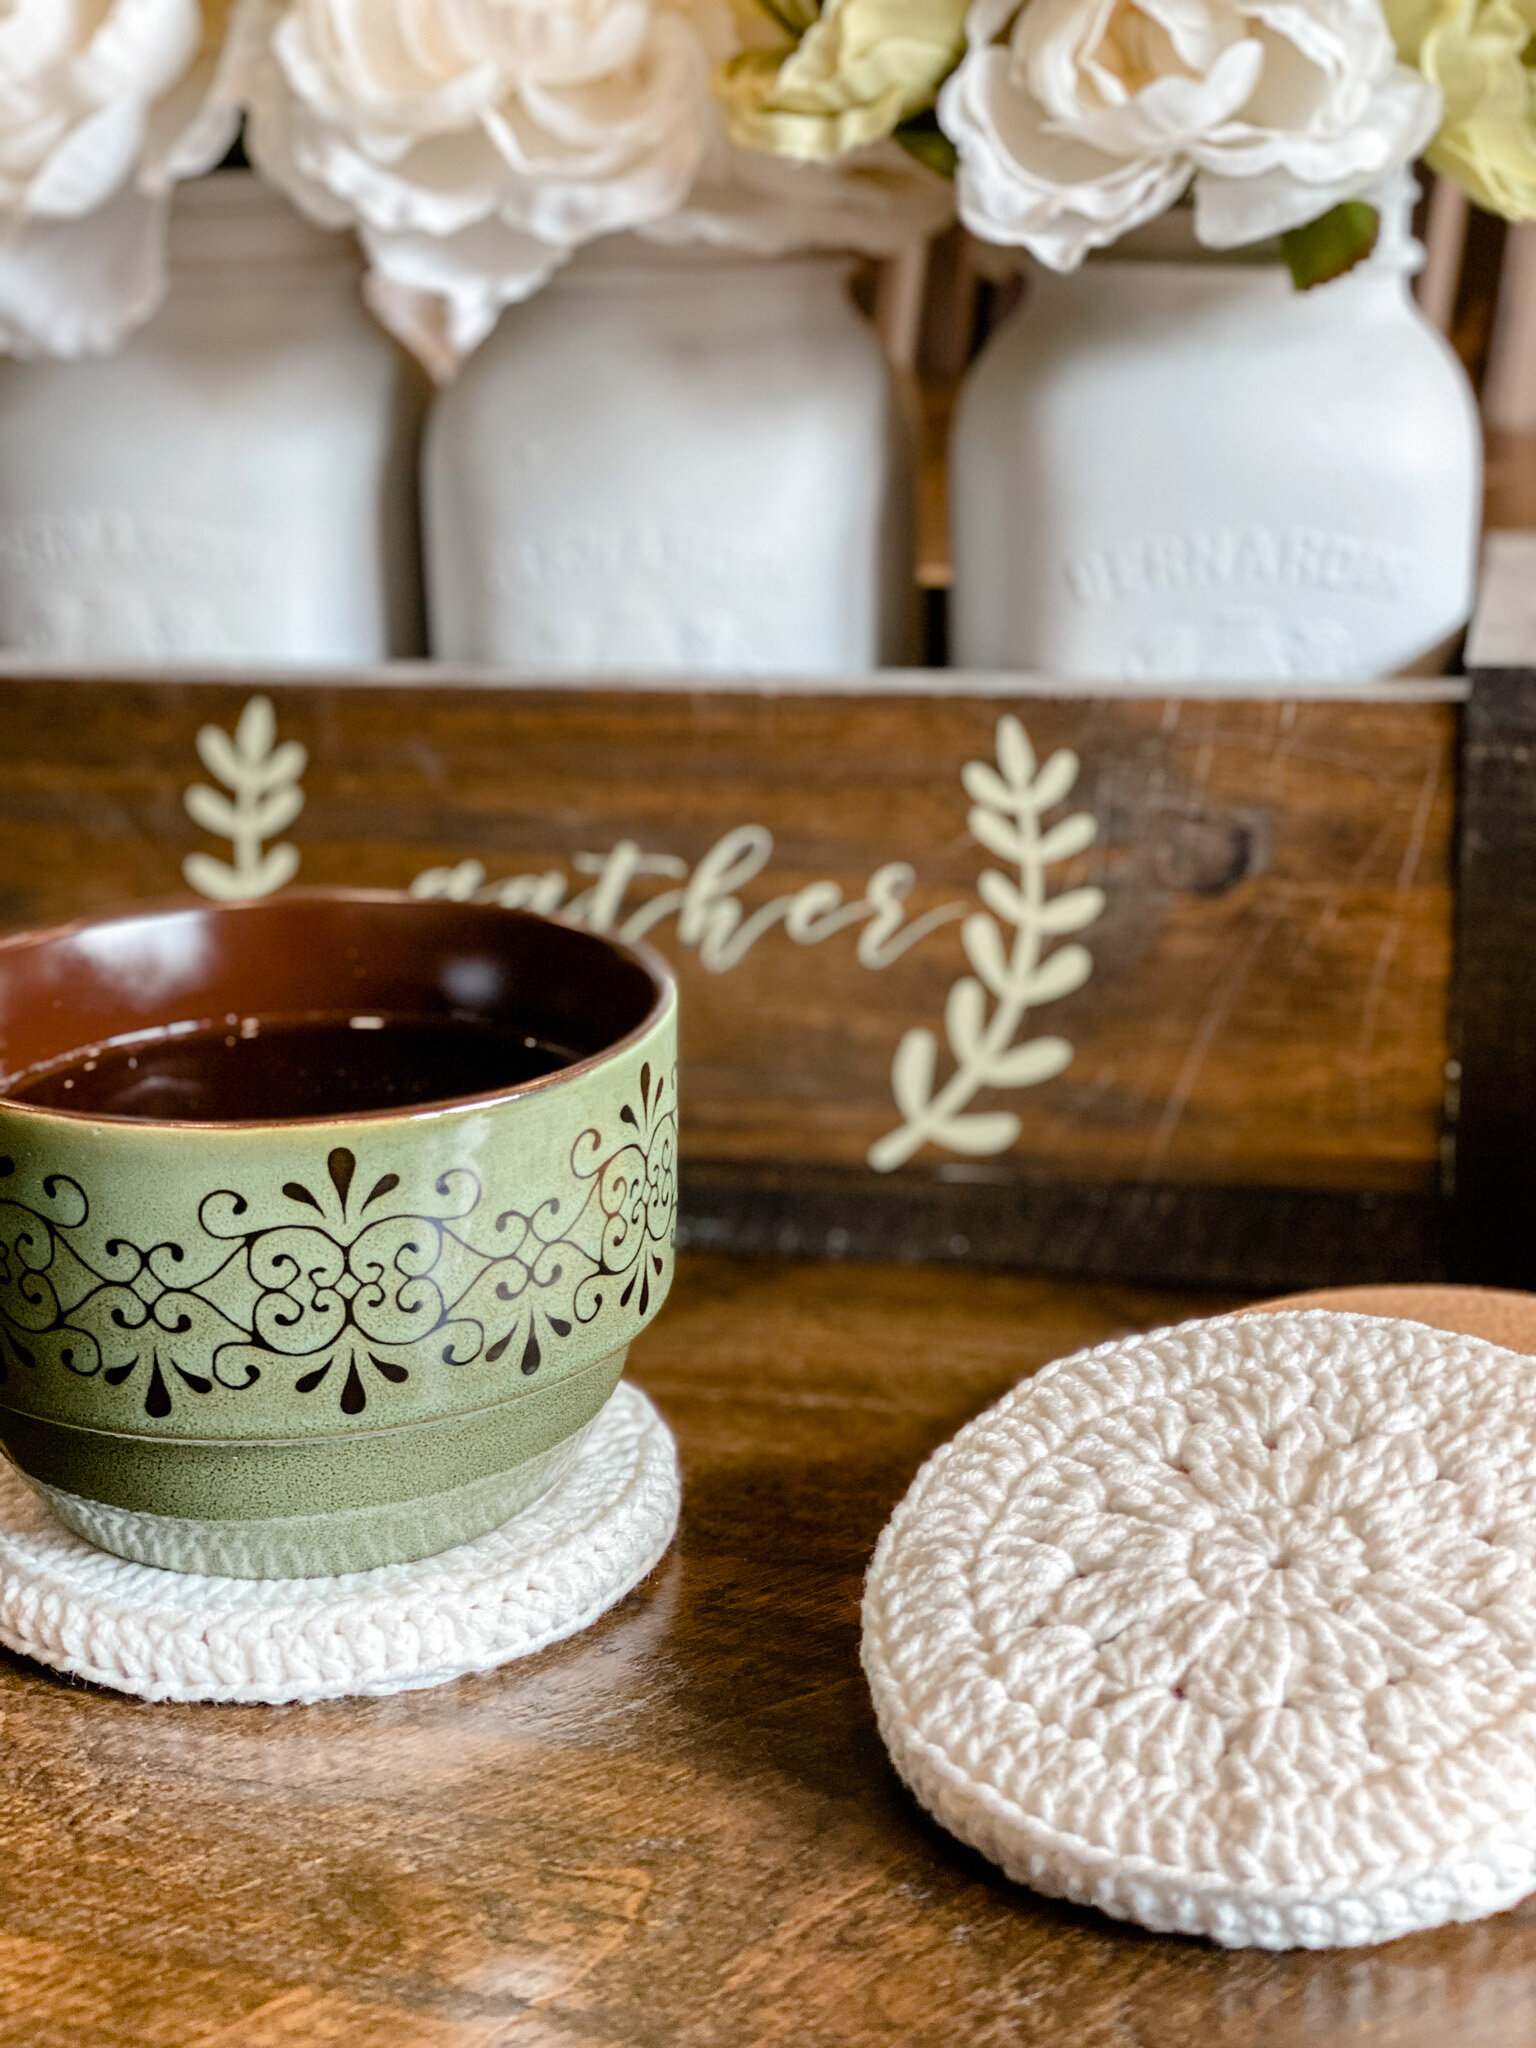
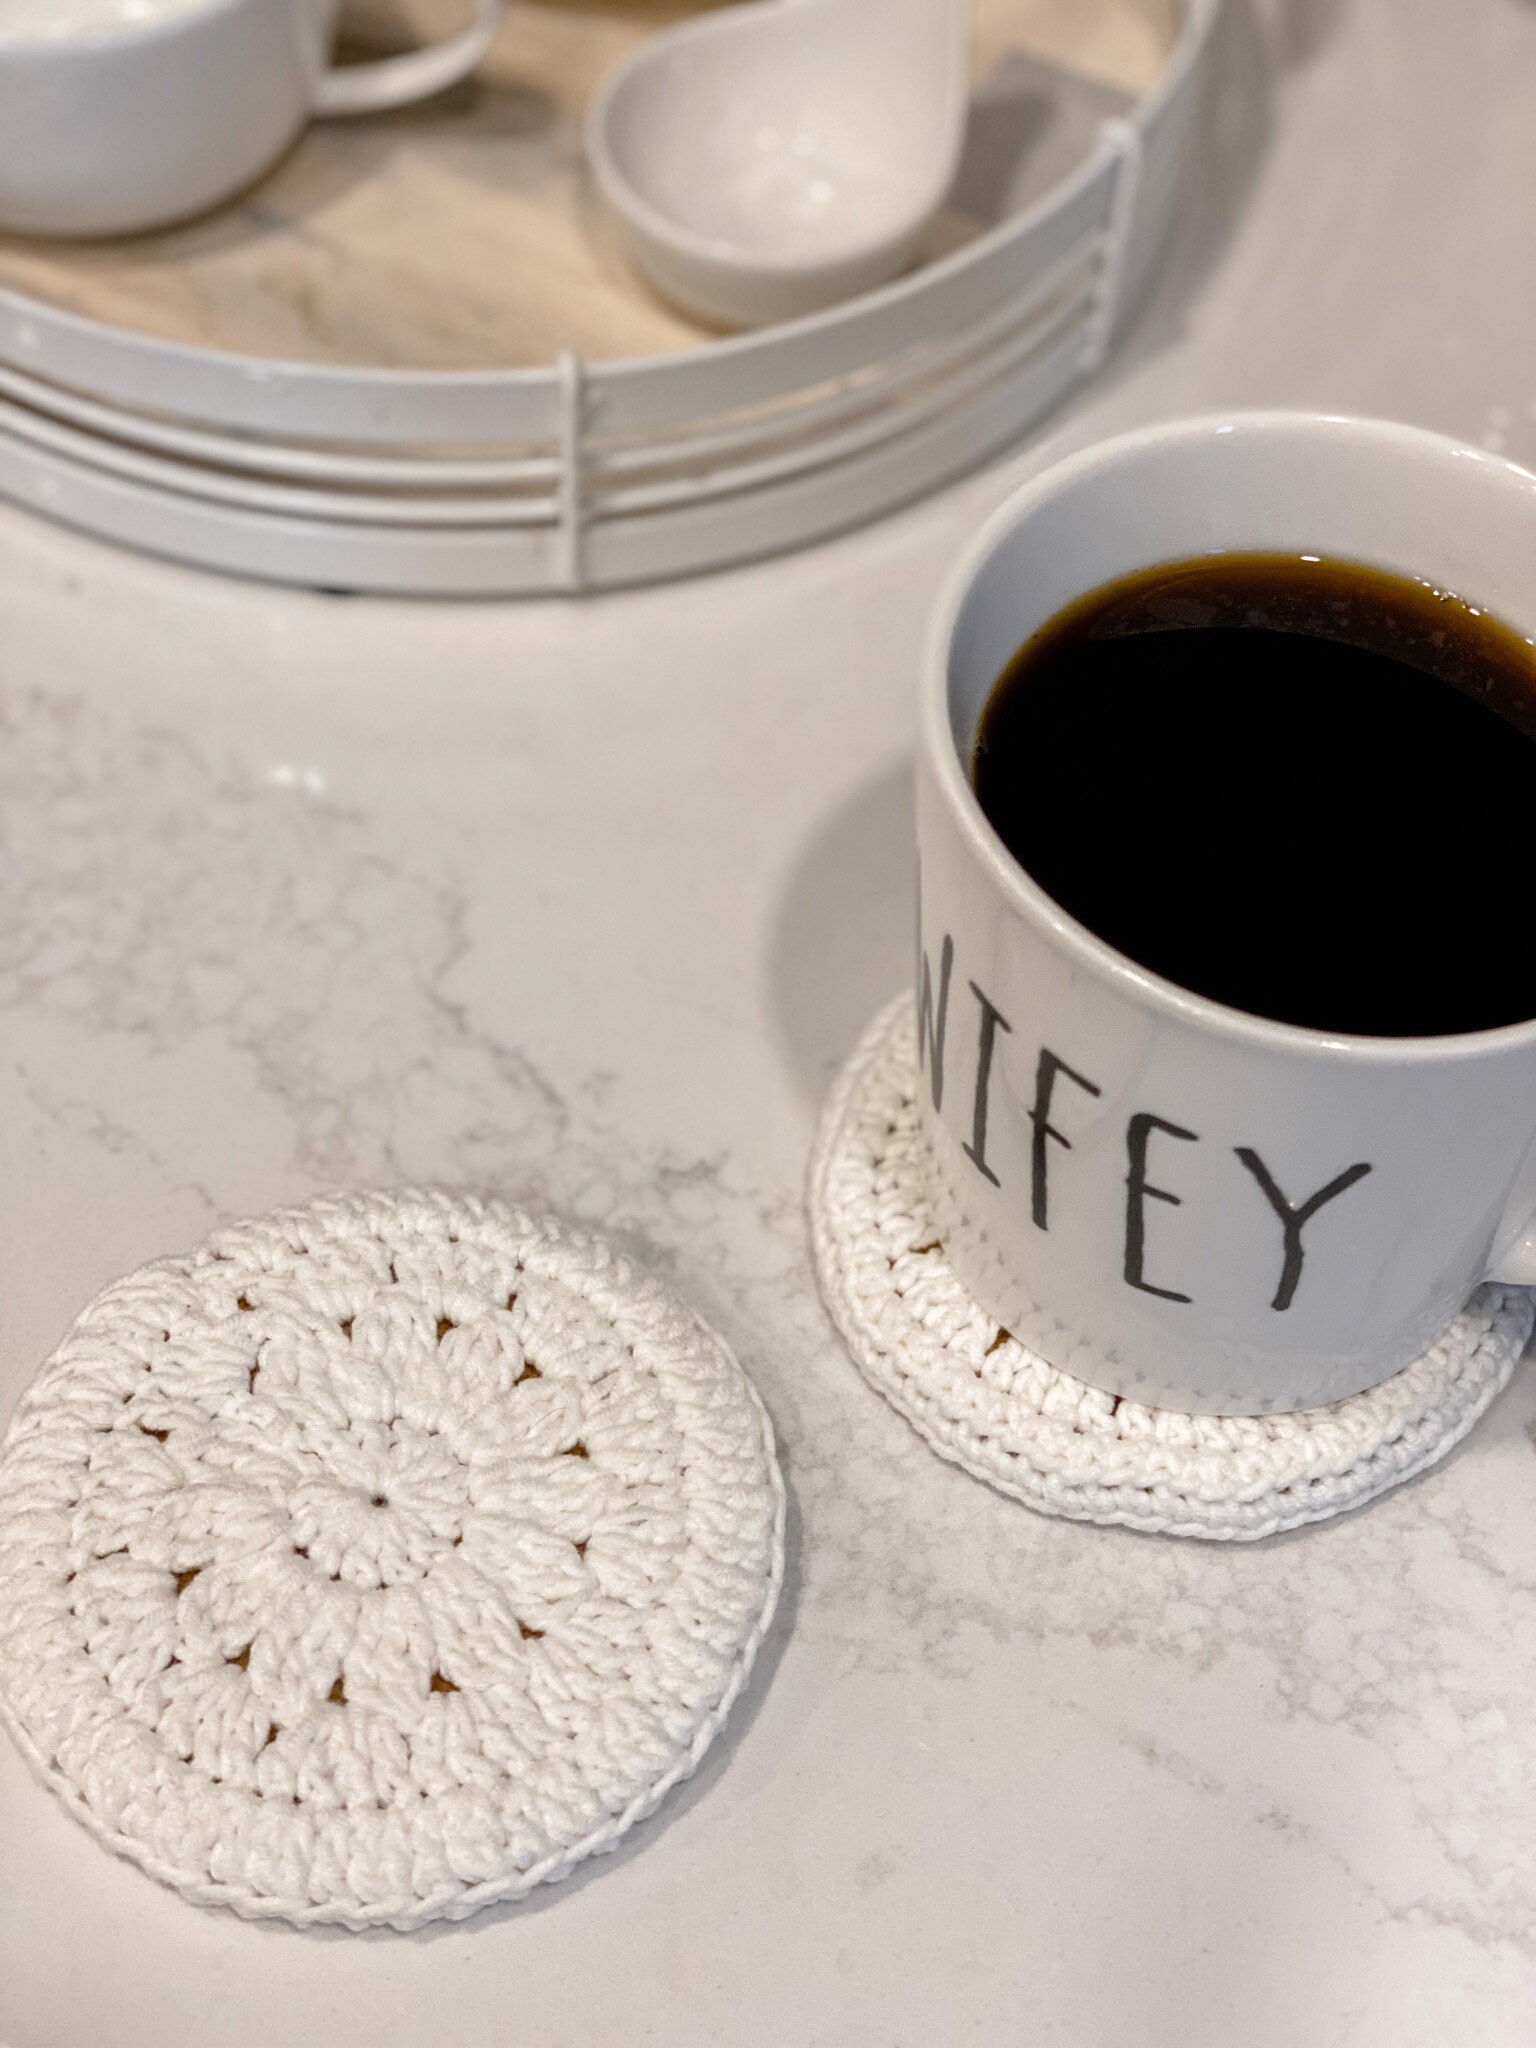
Who doesn’t love curling up in a cozy spot with a glass of coffee, tea, water or wine to relax and unwind!
This project gives you a feeling of warmth, coziness and love for your special space. Make it unique to you and your home… play with the colours! Bring more yarn into your home decor in an elegant way!
Grab your hook, whip these up and curl up with a good book! You’ve earned it!
Making Adjustments for Size
Depending on your yarn weight, coaster base size and gauge you will probably need to adapt the pattern. No problem! Here are some tips to help you along the way. Generally, make sure you dry fit your crocheting as you go over your coaster base.
When you centre your WIP on your coaster and it’s within a few mm’s from the edge, it’s time to start your BLO rounds!
Make sure your piece lies flat! If if doesn’t, you may need to play with your increases a bit
Here are some tips for common sizing issues with the coasters. Make it your own!
… if you’re using a bigger yarn or have big stitches: no sweat! Move onto the Rounds in the back-loops-only (BLO) early to form the sizes and underneath! No need to complete all the top rounds first!
… if your coaster base is really thin: all good! Use an sc and sc2tog instead of a hdc and hdc2tog for the sides and underneath
… if your coaster base is really thick: just like above, switch to a dc and dc2tog instead of an hdc and hdc2tog for the sides and underneath!
… if your coaster is smaller in diameter than the pattern: just stop at a round where you get close to the edges and move on to the BLO rounds!
… if your coaster is larger in diameter than the pattern: have fun with it! Add another round of sc, hdc or dc to increase your diameter before you head to your BLO rounds. Make sure you increase by doing 2 stitches in a single stitch every 6-8 stitches so it still lays flat - experiment to see what works for your yarn/gauge!
… if you still can’t get it to be the right size to fit: try going up or down a hook size, e.g. 3.5mm instead of 4mm if it’s too big, or 4.5mm instead of 4mm if it’s too small.
“You can never get a cup of tea large enough or a book long enough to suit me.”

Supersize It!
Why stop at a coaster size?
Turn the pattern into a hot pad cork cover… just make sure you only use it for things within the temperature tolerance of your yarn! Don’t melt it with a hot pot!
Read on below to see how I adapted it to a bigger size.
Hotpad Version:
As you can see, I’ve also adapted the pattern to cover a hot pad! Here’s how I did it, but play around with it and have fun!
Follow the coaster top section of the main pattern (Rounds 1-4)
Round 5: Ch 3, Treble Cluster in same st (first dc from Round 4), ch 1, treble in next 3 stitches, *Treble Cluster in next st, ch 1, treble in next 3 st* around, sl st in first treble cluster to join [72 st]
Round 6: Ch 2, dc in same st (first treble cluster from Round 5), dc in ch space, dc in next 3 st, *dc in treble cluster, dc in ch space, dc in next 3 st* around, sl st in first dc to join [90 st]
Round 7: Ch 2, 2hdc in same st (first dc from Round 6), hdc in next 5 st, *2hdc in next st, hdc in next 5 st* around, sl st into first hdc to join [105 st]
Complete the Coaster Side and Back from the main pattern, ending with 70 stitches.

Make your Home Cozy!
Take hour home decor to a whole new level without breaking the bank! Re-use your cork bases and make different colours for different holidays and seasons. The sky’s the limit!
Show me your makes so I can see your creativity! Use #creamycrochetcoasters and #yarnworxstudio to show off your stuff. Help me share our love of crafting with the world together.
“Home is the nicest word there is.”
This pattern was originally published under my old brand, Homemade By Giggles. Same person, same pattern, same fun!