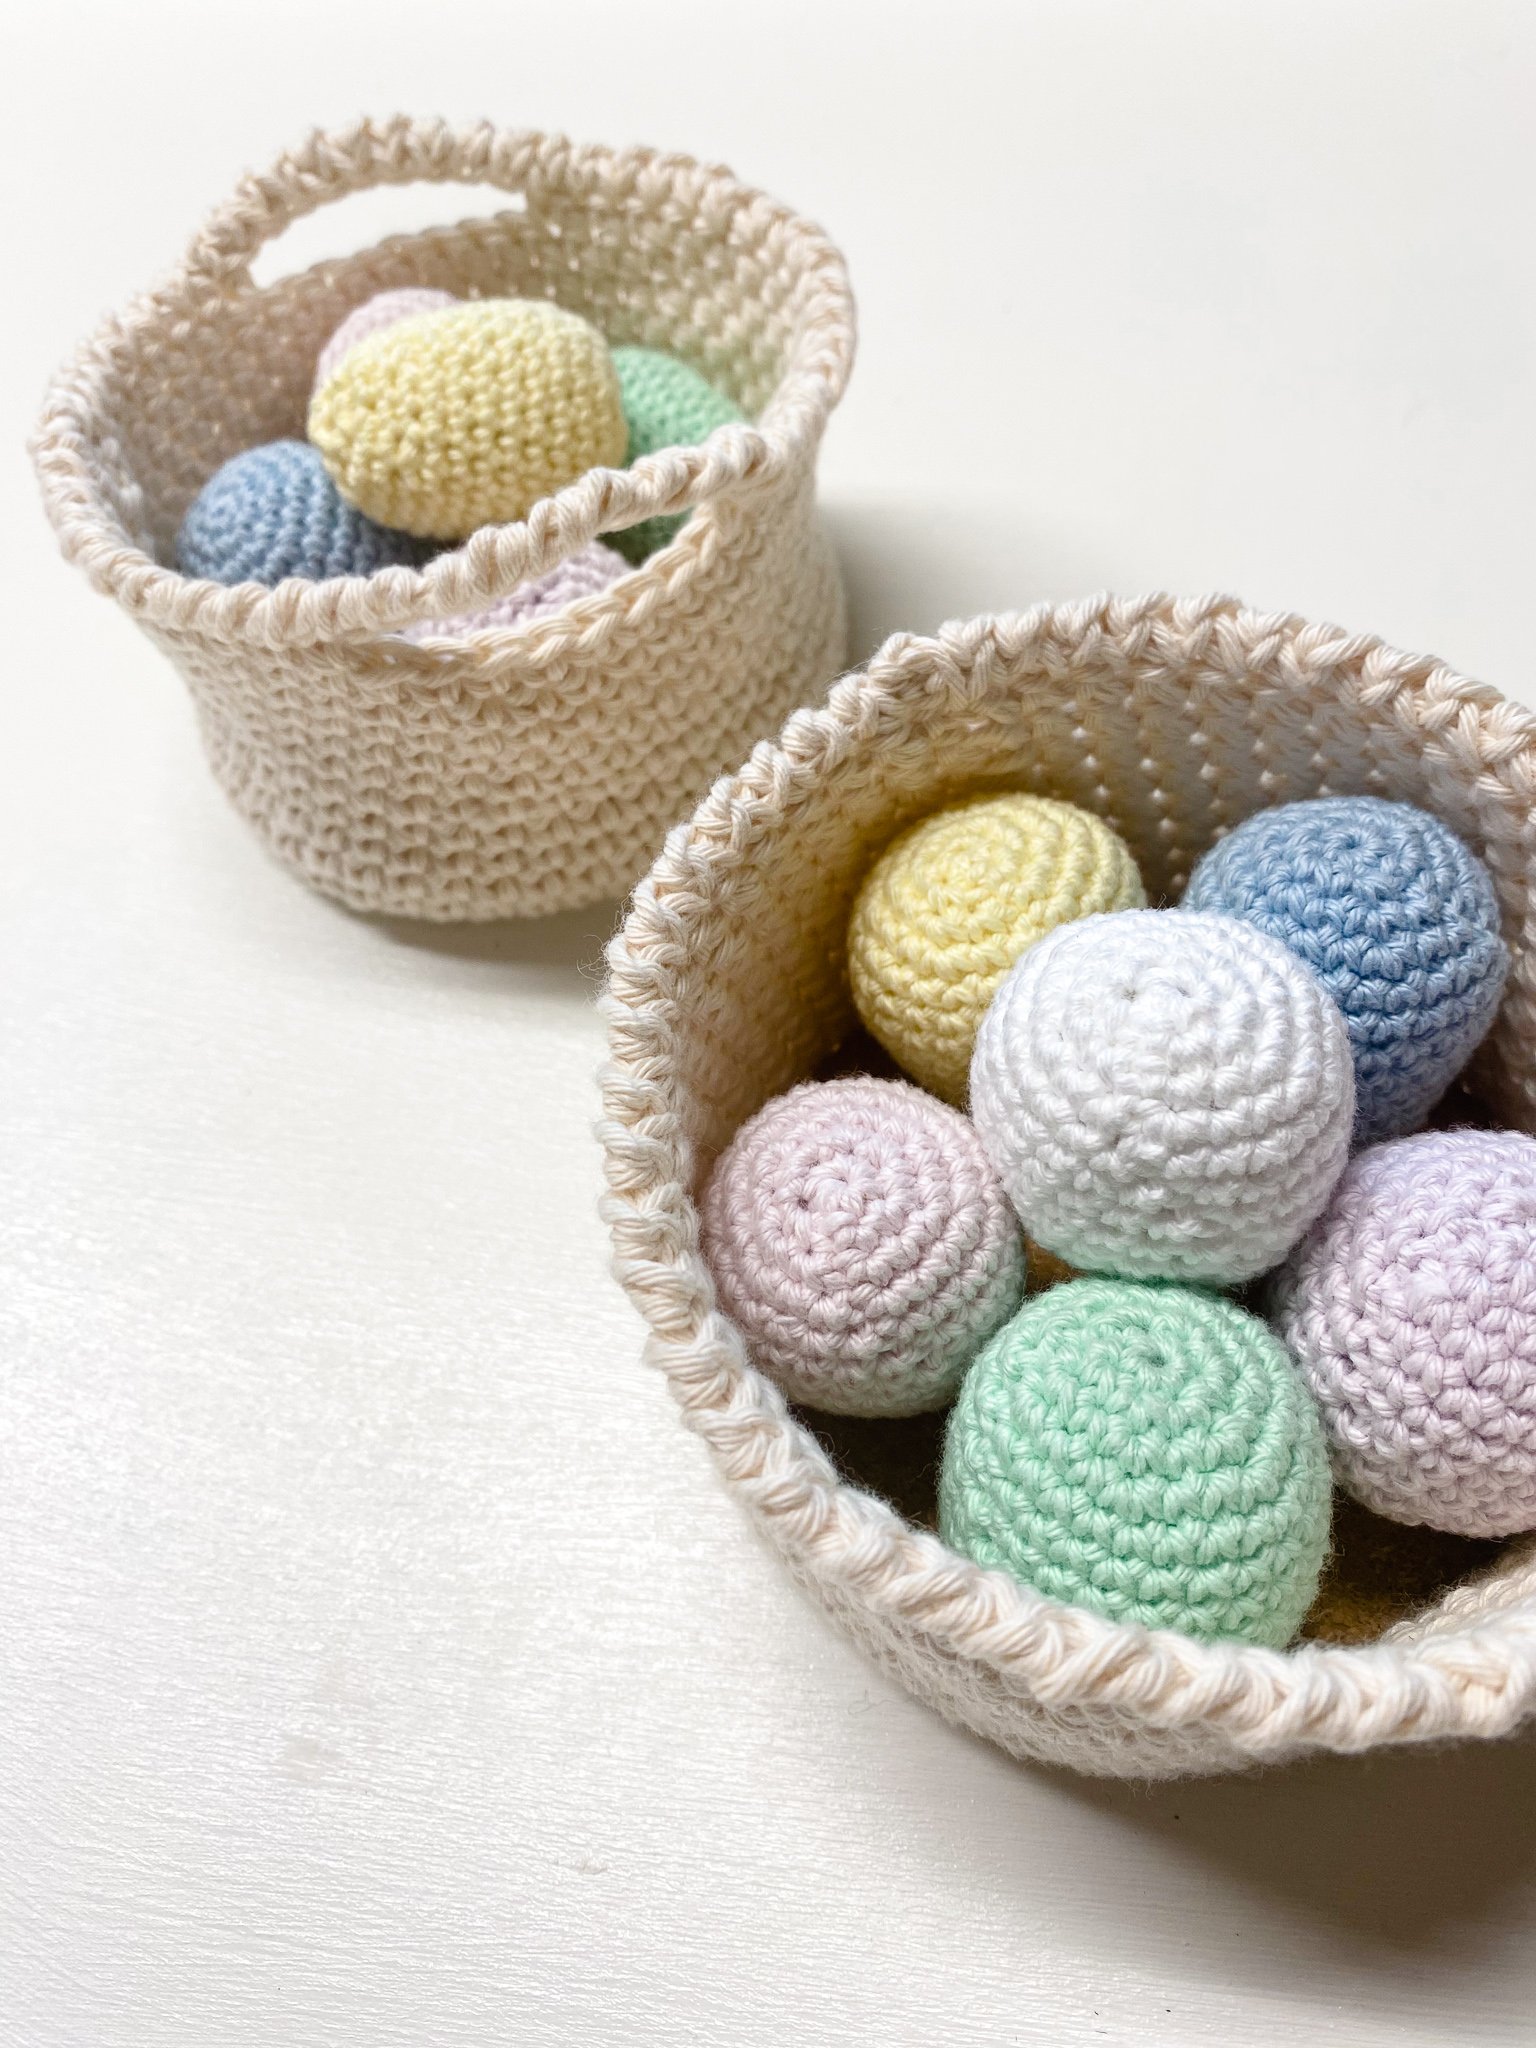
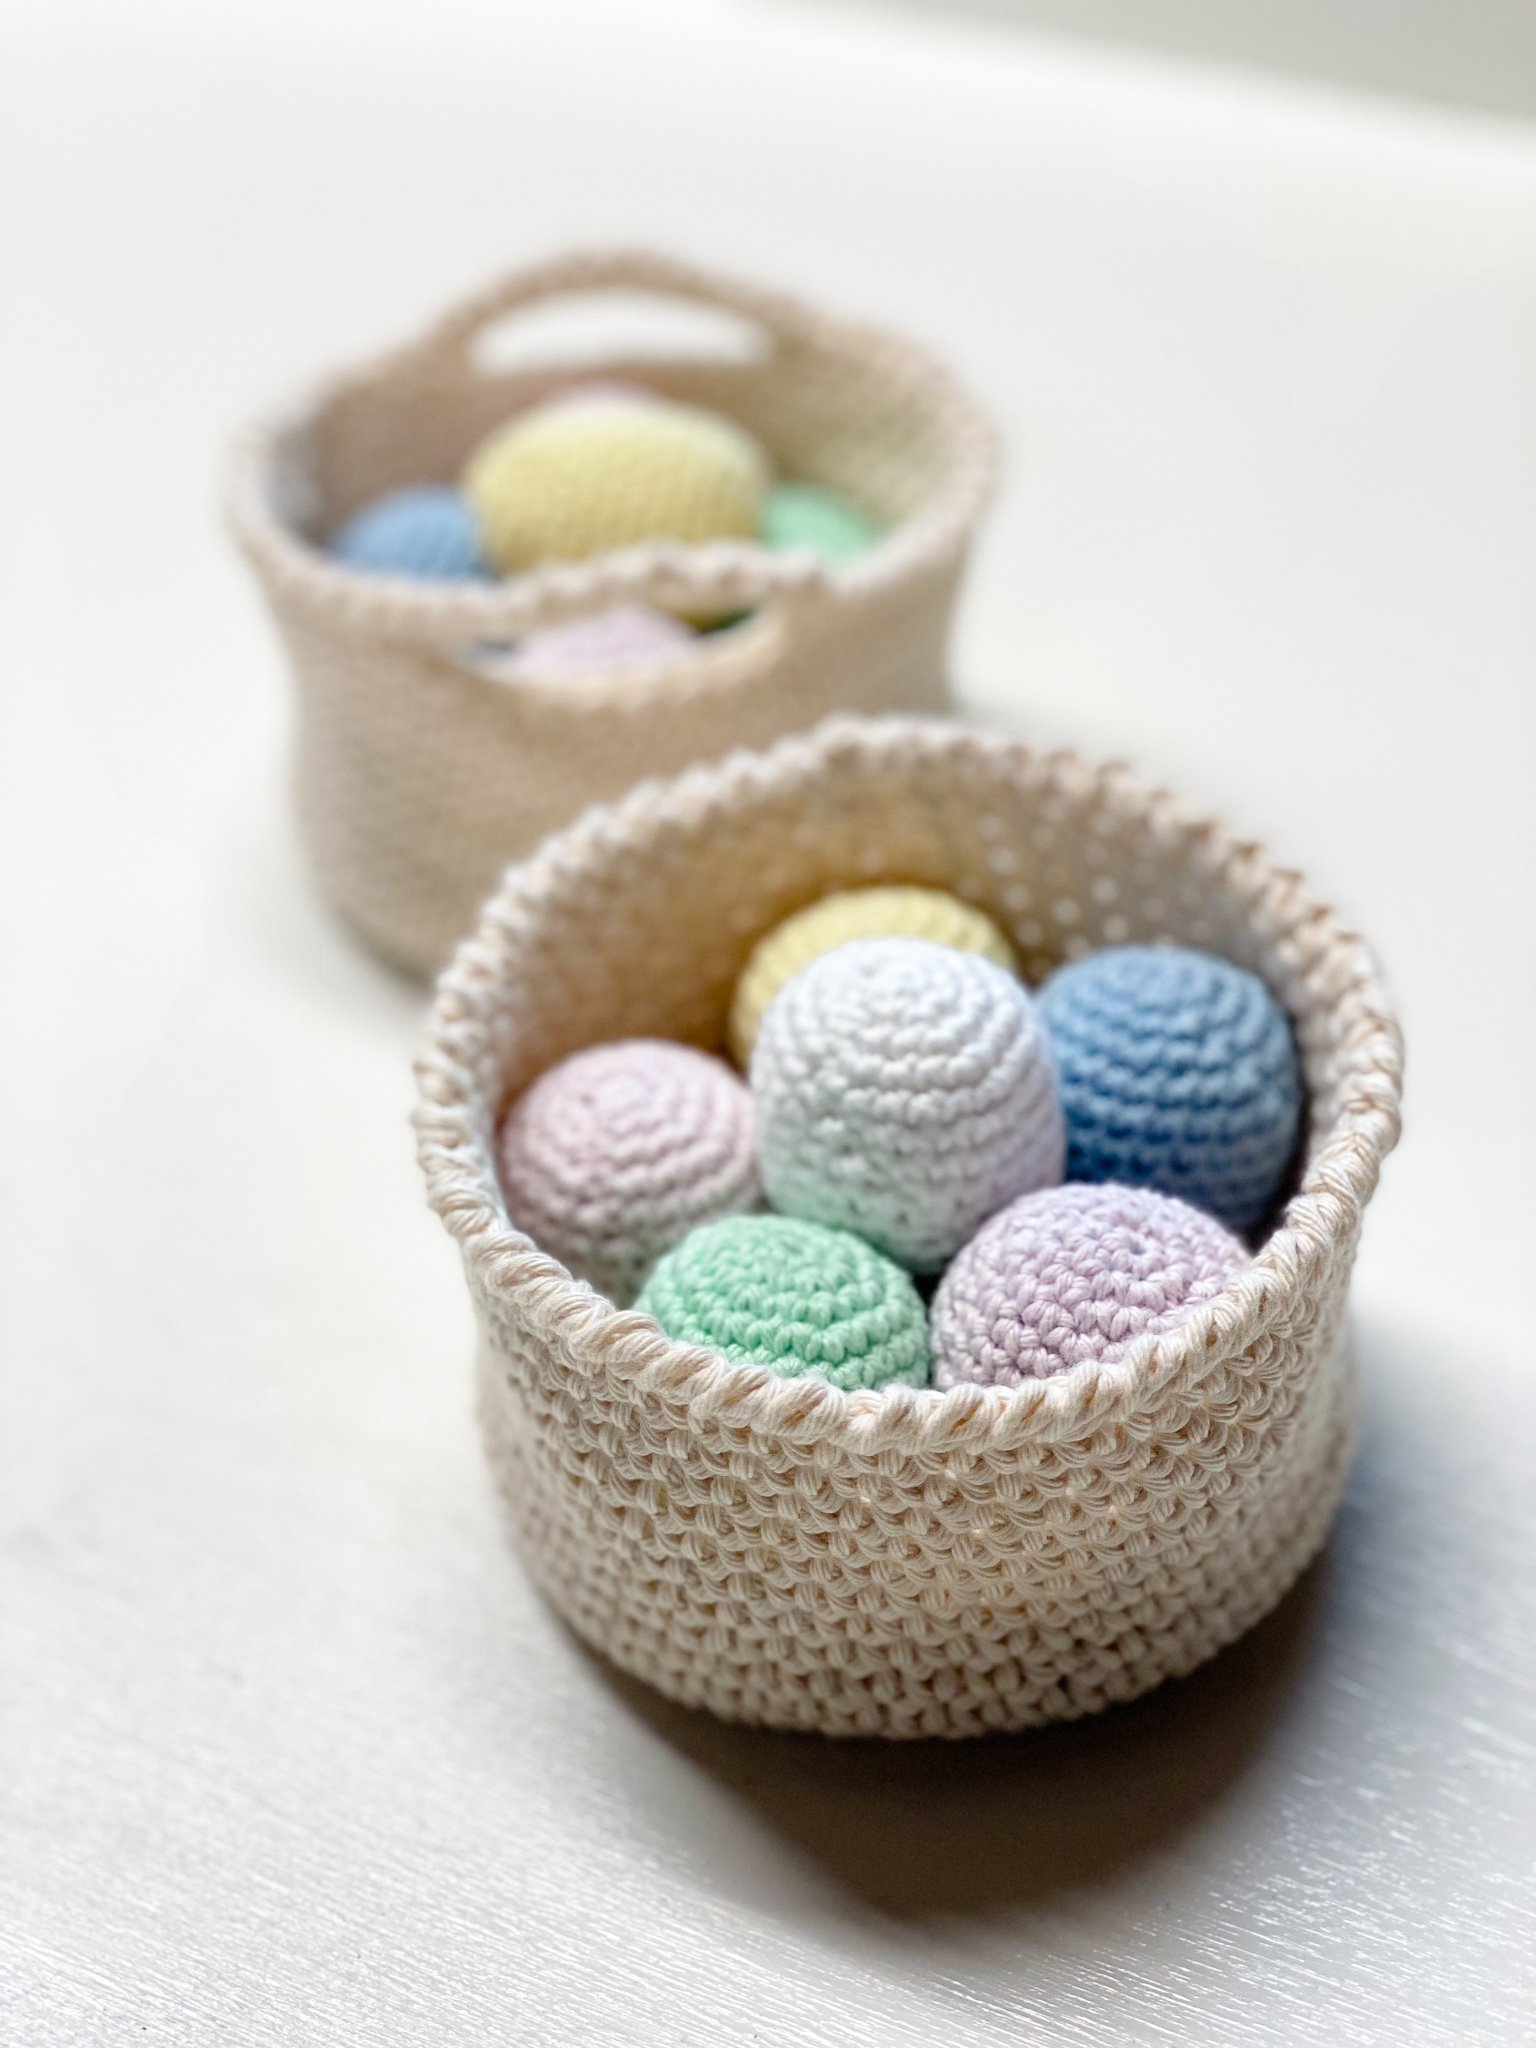
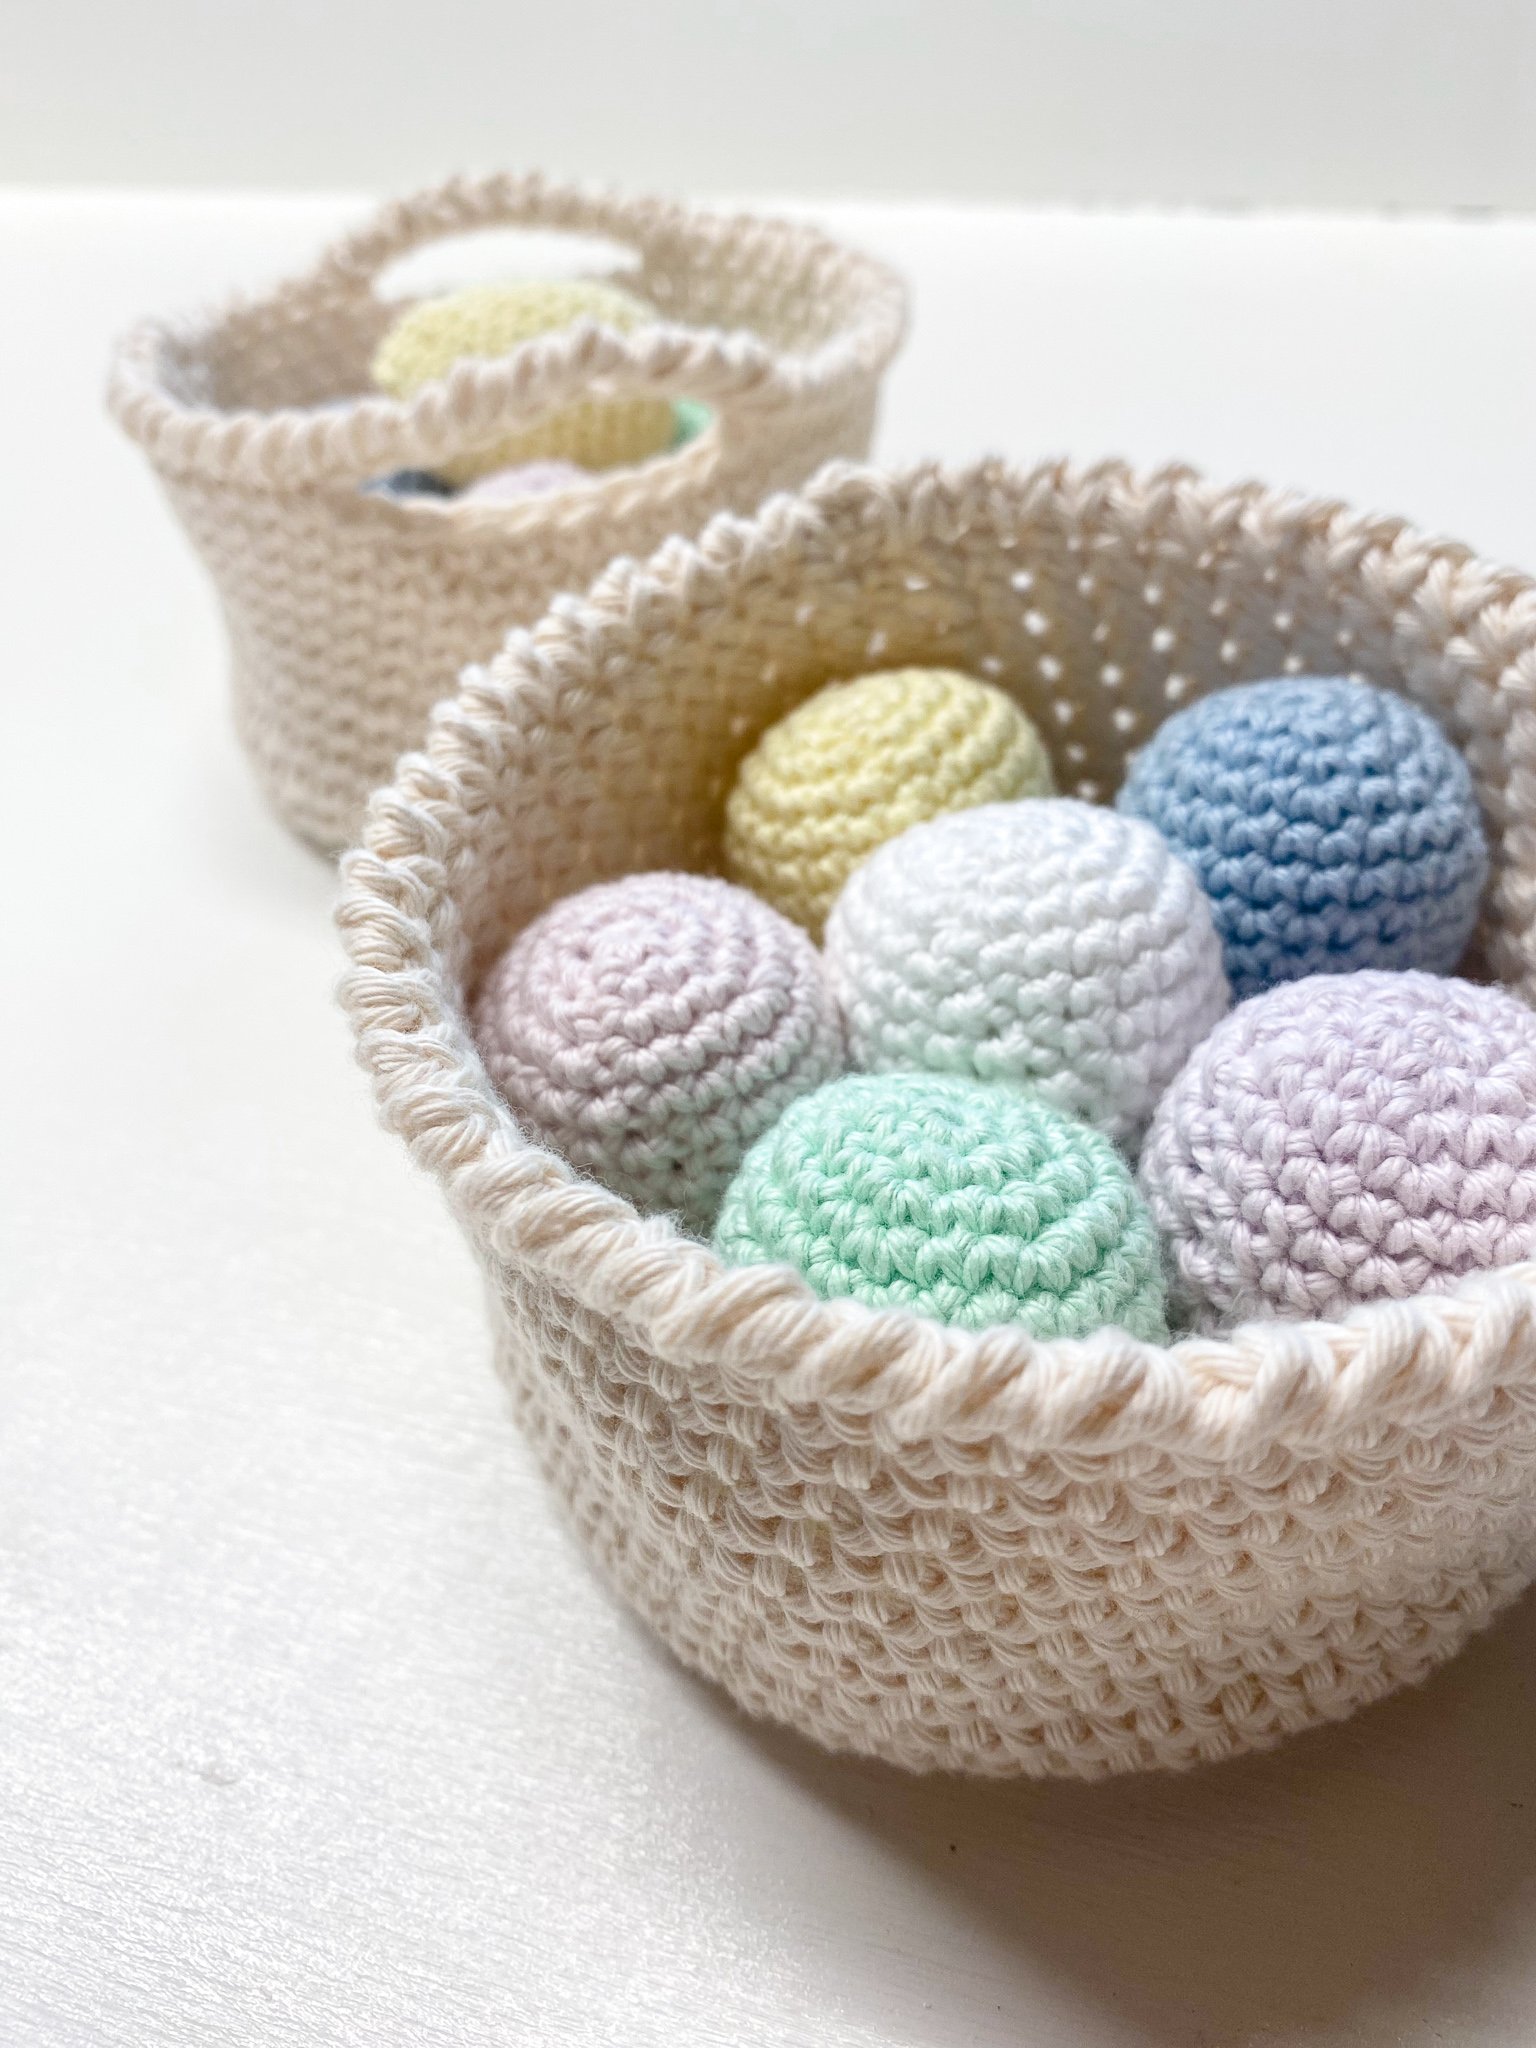
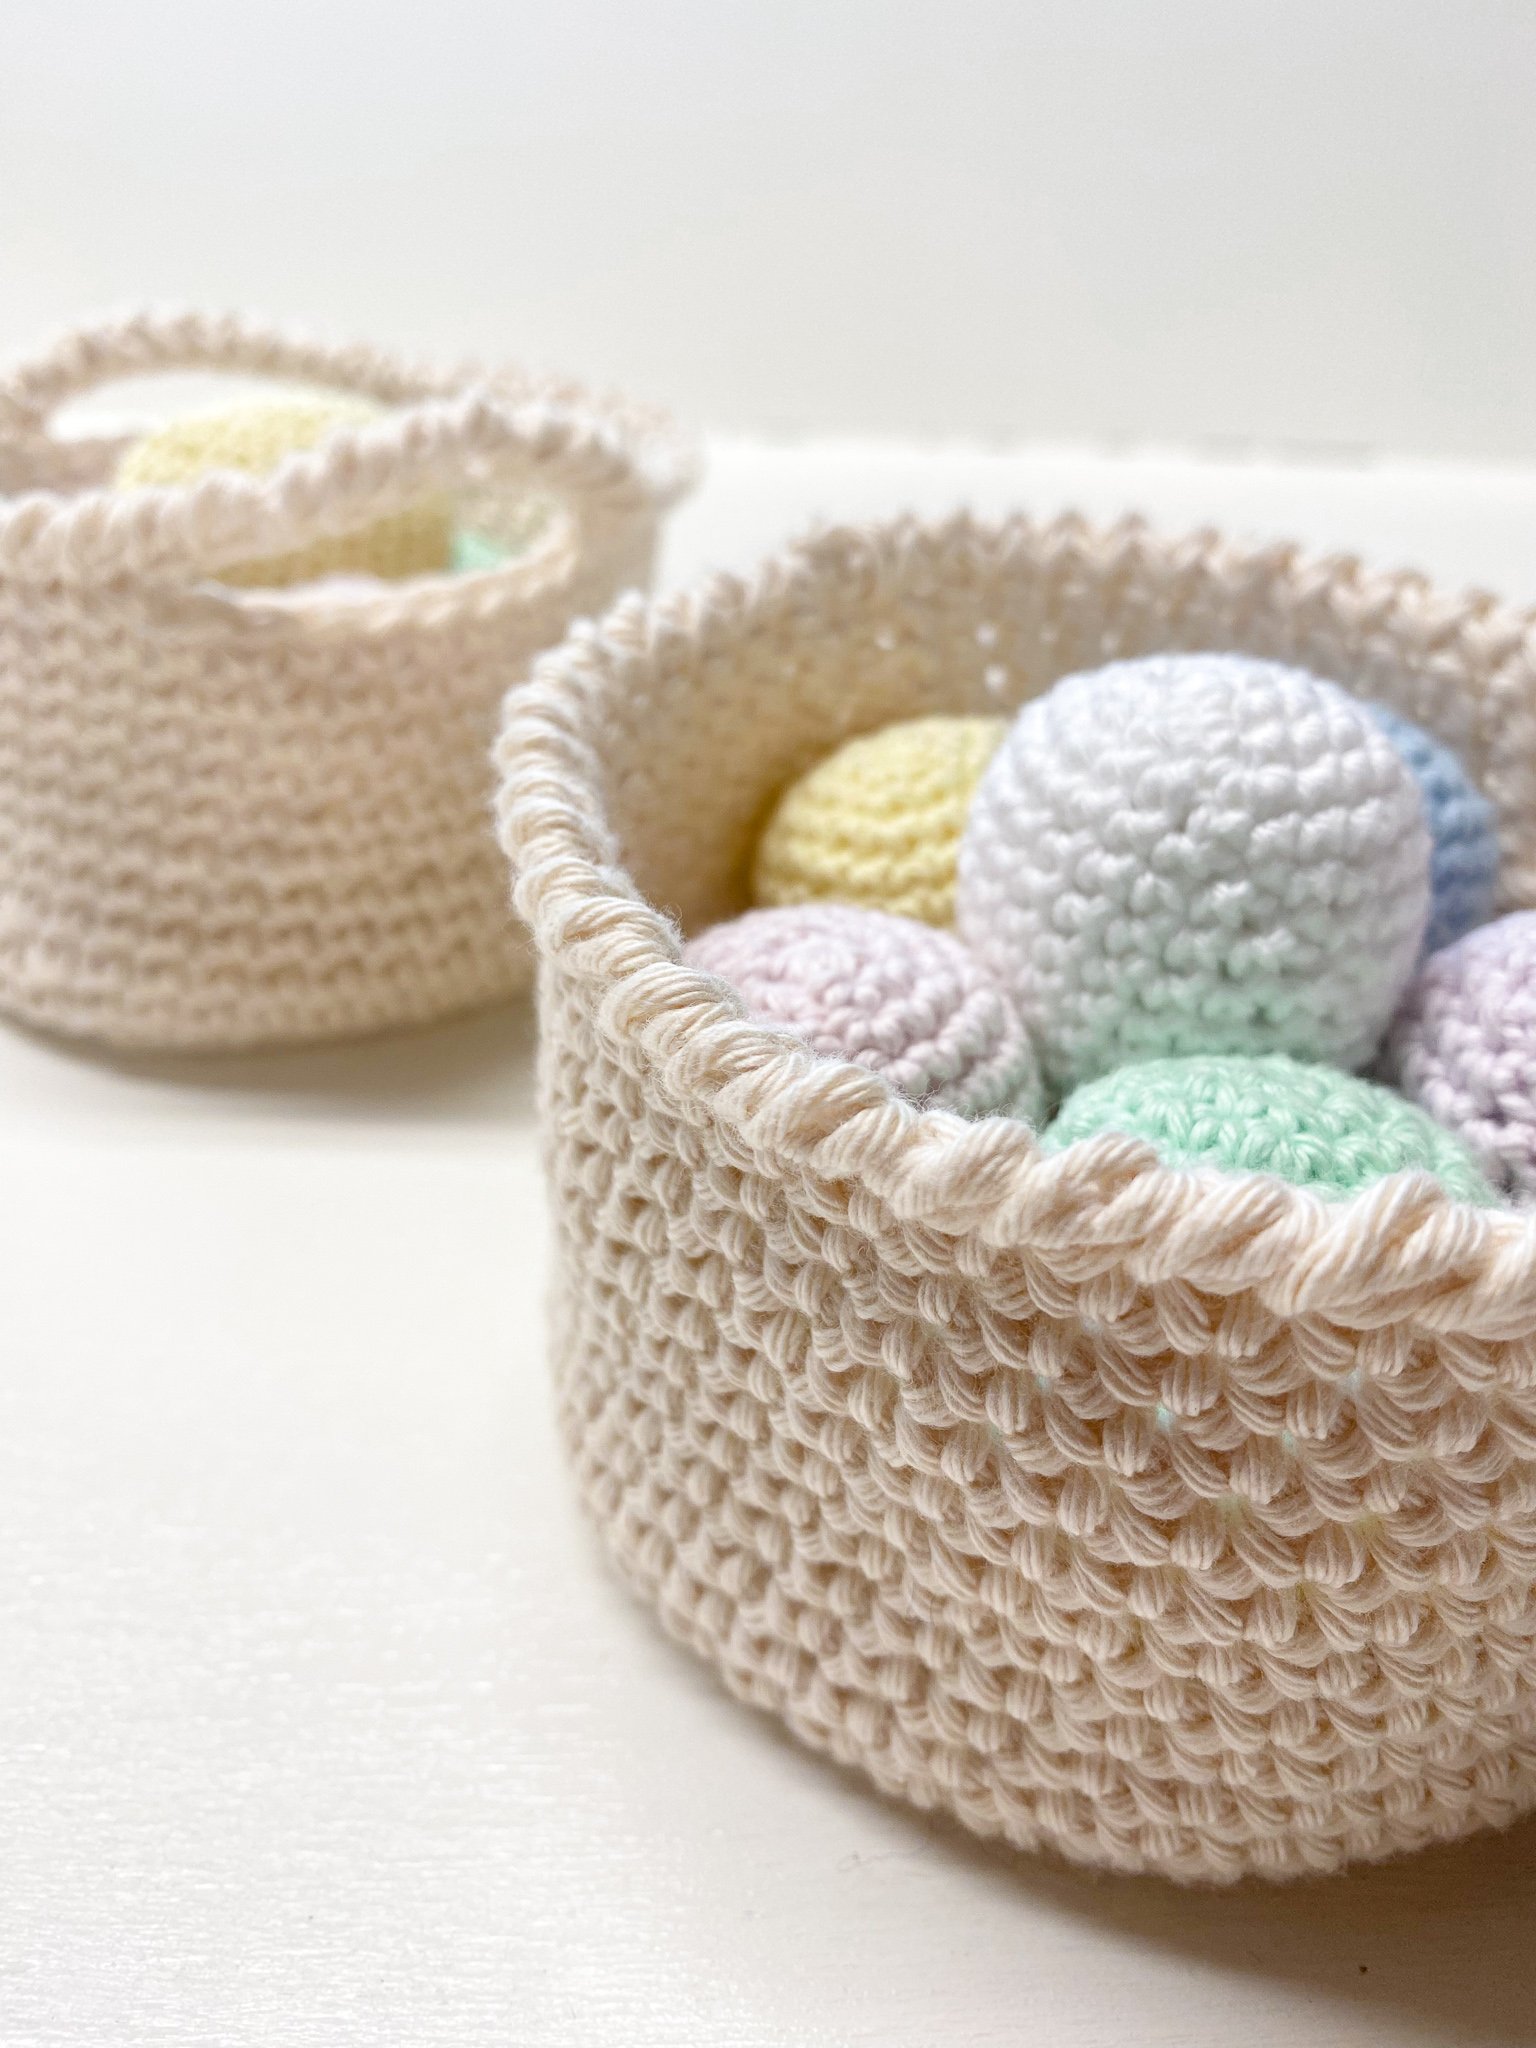
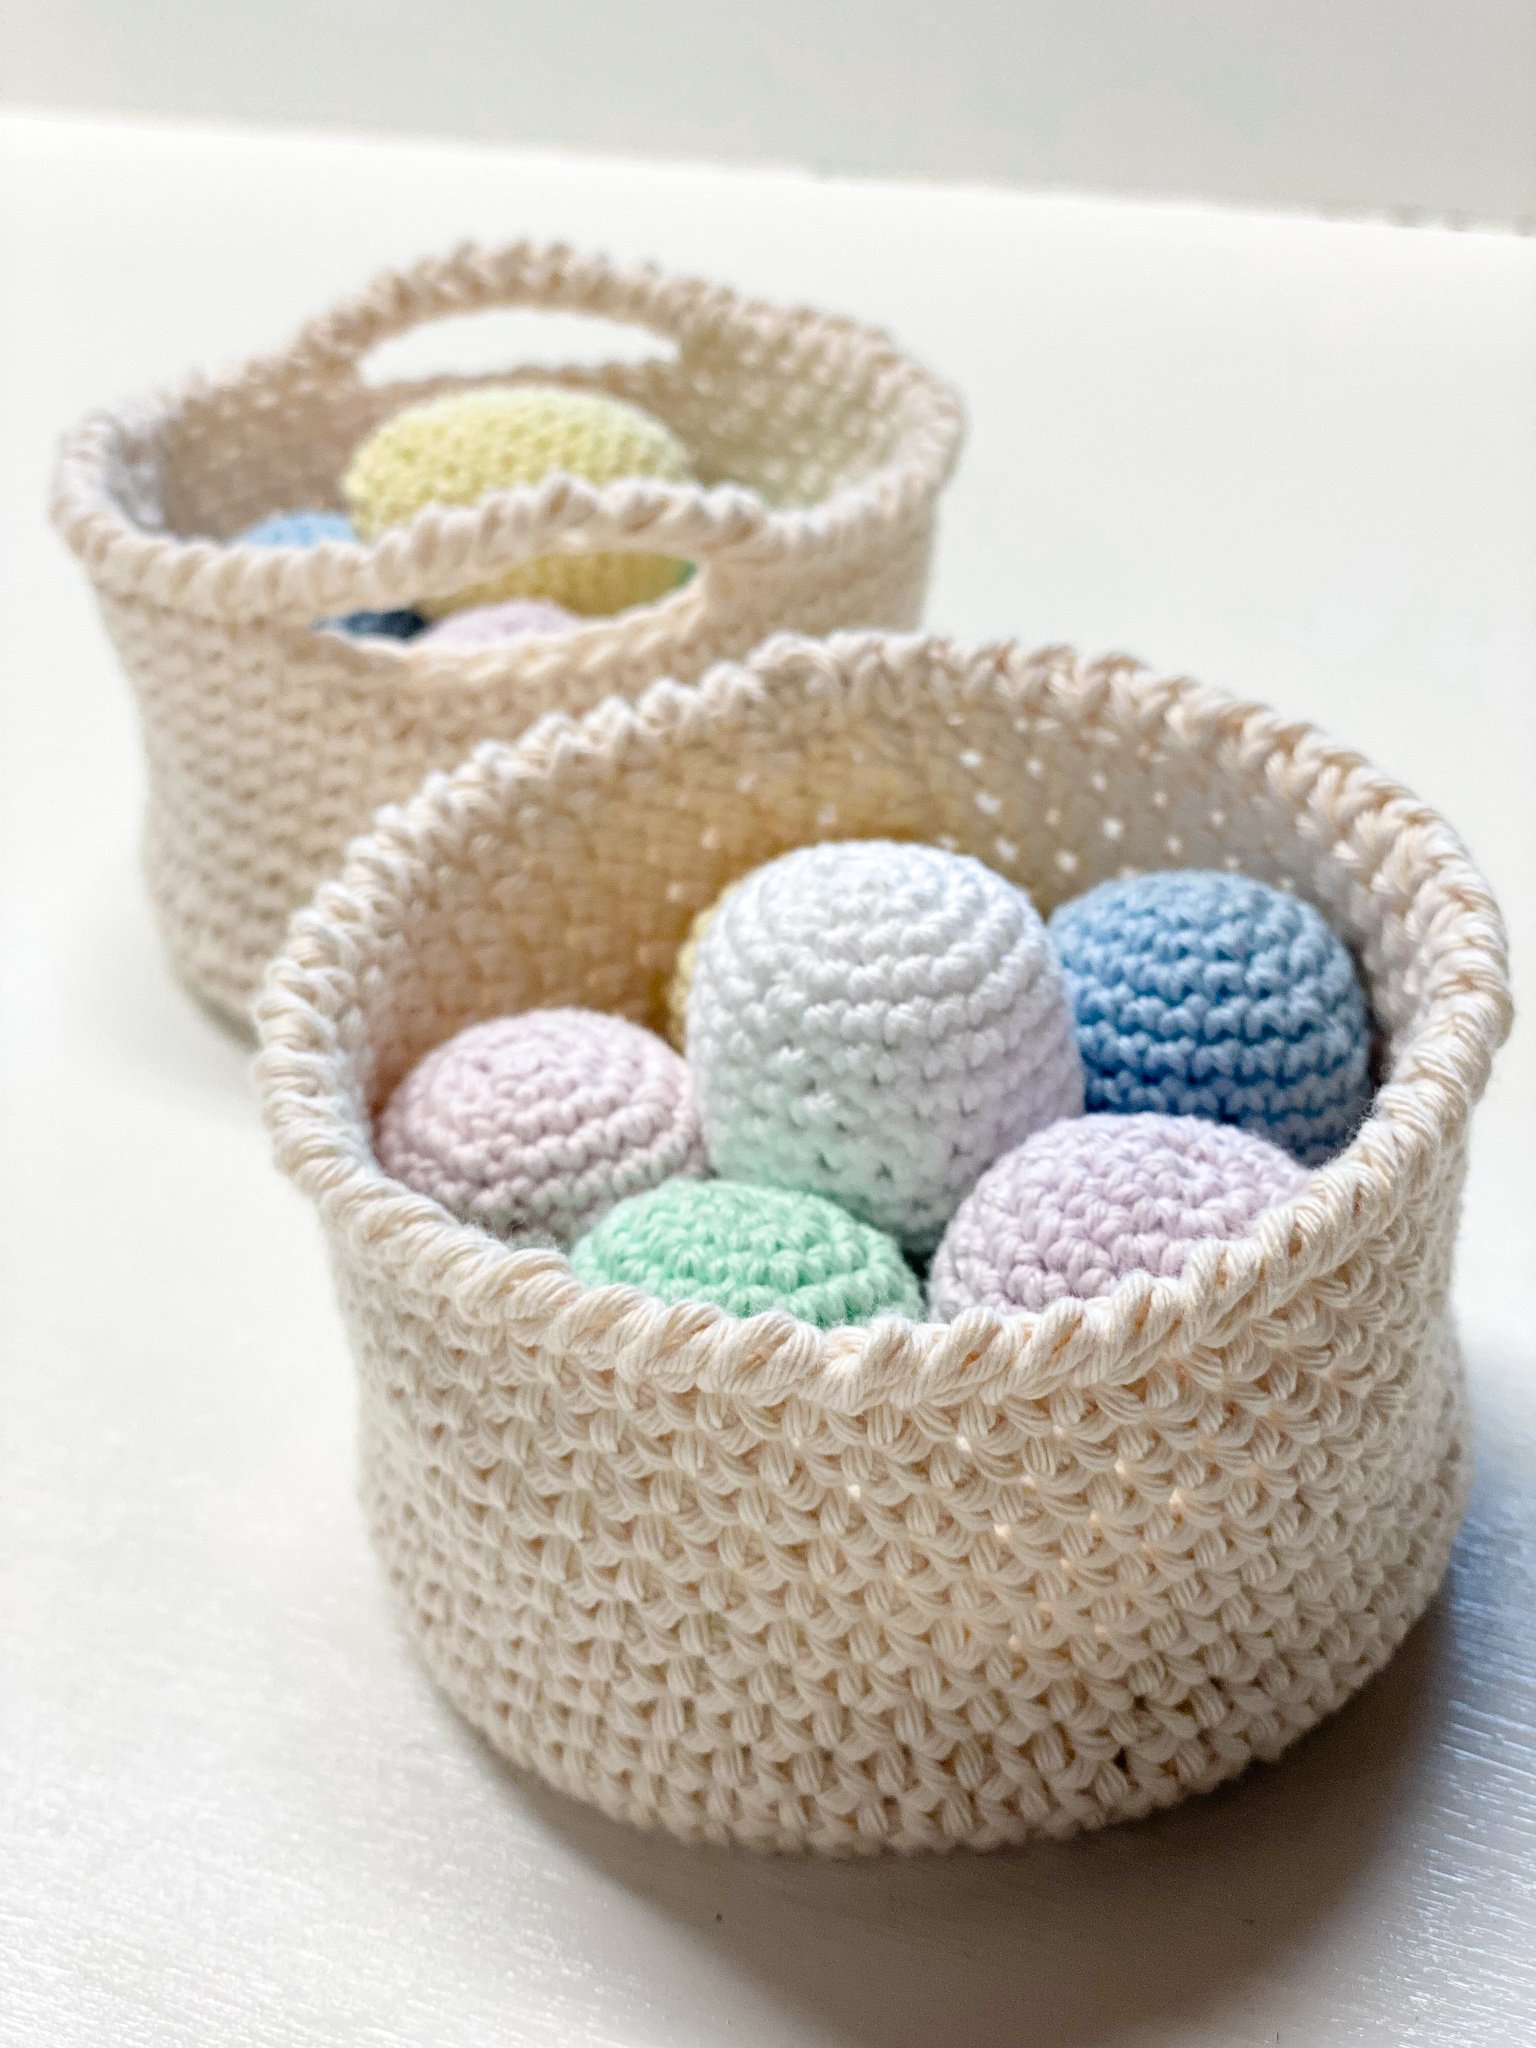
Crojo Easter Eggs and Basket Crochet Pattern
“Spring is the time of plans and projects.”

I lost my CROJO…
I’ve been spinning yarn (new for me!) and knitting so much, I couldn’t get my crochet mojo going. But when Hobbii Yarns reached out asking if I wanted to play with their Friends Cotton yarn to make an Easter project, I knew this would get my crojo flowing!
Let’s celebrate spring with a quick and flexible project… and the baskets can be used for ANYTHING!
My posts may contain affiliate links that help support the content on my site at no extra cost to you, so I can keep bringing you free patterns to enjoy and share with the world. Please review my Privacy Policy for more details, including my Copyright Policy about pattern making, credit and sharing. Happy crafting!
Sponsorship Transparency:
This project was sponsored by Hobbii Yarn, they provided me with the yarn free of charge in exchange for some social media content that I posted on TikTok and Instagram. They did not request that I create this pattern, I just enjoyed working with the yarn so much I wanted to share the pattern with others! If you are reading this blog post before April 8, 2023 you still have time to enter their #EasterCraftsWithHobbii giveaway where you can win 20 balls of this Cotton Yarn! Enter with an Instagram posting (reel or feed) by tagging @hobbii_yarn and including #EasterCraftsWithHobbii, that are shared on 8th on April (ideally by YOUR followers :- )), Hobbii will select in total 3 winners.
Making time: ~10 minutes per egg, 30 minutes per basket
Materials needed:
Eggs:
Yarn:
<5g per egg Fingering weight yarn, I recommend cotton since it doesn’t stretch much and is durable
I used Hobbii Yarn Friends Cotton 8/4 (fingering weight) in White (01), Pastel Yellow (21), Hint of Pink (50), Faint Purple (66), Icy Blue (76) and Pastel Green (100)
Note, if you want to use a different yarn weight, no problem! Use an appropriately-sized hook for the yarn and know that the egg size will change based on the yarn weight.
Recommended Hook: 2.5mm
Stuffing:
I used extra polyfill I had laying around
Tip: use new materials only and follow safety guidelines for toys/stuffing in your country/region
Notions:
Scissors
Tapestry Needle
Stitch Marker (optional, to track start of round)
Basket:
Yarn:
~35g per basket DK weight yarn, I recommend using cotton for some structure
I used Hobbii Yarn Friends Cotton 8/8 (DK weight) in Oatmilk (03)
Note, if you want to use a different yarn weight, no problem! Use an appropriately-sized hook for the yarn and know that the basket size will change based on the yarn weight. If you’re using a cork base you will need to adjust your increase rounds accordingly, there are instructions in the pattern for you!
Recommended Hook: 4.5mm
Base: (optional)
If you want to add more structure to the base of the basket, you’ll need a cork coaster with a ~4” diameter
I used these ones from Amazon (leftover from my Creamy Coasters project!) and have seen good ones at Wal Mart as well
Notions:
Scissors
Tapestry Needle
Stitch Marker (optional, to track start of round)
Stitch Glossary:
Pattern:
Notes about crocheting in the round: throughout the pattern I use ch stitches to start each round, but I ignore these ch st in the overall st counts and when slip stitches to join rounds. This helps avoid gaps. There are several ways to crochet in the round, you can choose which one works best for you.
For this project, I start my rounds with a ch1 then sc in next stitch. At the end of the round, I sl st into the first sc (not the ch stitch).
Another way to start rounds is to ch1 then sc in the same stitch. At the end of the round, sl st into the first sc (not the ch stitch), being careful with your stitch counts as often the last stitch looks like it should be worked but actually shouldn’t be worked.
Another way is to not do any sl st joins and simply continue in the round making a spiral effect.
Egg Pattern
Using the fingering weight yarn and appropriate hook. See the above note about how to end rounds and start new rounds above.
Round 1: 6 sc into magic ring, sl st into first st
Round 2: 2 sc in each st around (12 st)
Round 3: *2 sc in next st, sc in next st* repeat until end of round (18 st)
Round 4: *2 sc in next st, sc in next 2 st* repeat until end of round (24 st)
Round 5: sc in each st around
Rounds 6-10: repeat Round 5 (24 st)
Round 11: *sc2tog, sc in next 2 st* repeat until end of round (18 st)
Round 12: sc in each st around
Add stuffing at this point
Round 13: *sc2tog, sc in next st* repeat until end of round (12 st)
Round 14: sc2tog around (6 st)
Sl st, fasten off, leaving a tail for sewing
Sew small opening shut and weave in ends
Basket Pattern
Using the DK weight yarn and appropriate hook. See the above note about how to end rounds and start new rounds above.
Round 1: 6 sc into magic ring, sl st into first st
Round 2: 2 sc in each st around (12 st)
Round 3: *2 sc in next st, sc in next st* repeat until end of round (18 st)
Round 4: *2 sc in next st, sc in next 2 st* repeat until end of round (24 st)
Round 5: *2 sc in next st, sc in next 3 st* repeat until end of round (30 st)
Round 6: *2 sc in next st, sc in next 4 st* repeat until end of round (36 st)
Round 7: *2 sc in next st, sc in next 5 st* repeat until end of round (42 st)
Round 8: *2 sc in next st, sc in next 6 st* repeat until end of round (48 st)
If you’re using a cork base, check the fit before proceeding. See notes below to adjust sizing as needed.
Round 9: IN THE BACK LOOPS ONLY, sc in each st around
Round 10: sc in each st around
Rounds 11-20 (or until desired height is reached): repeat Round 10 (48 st)
If you want to add handles to the basket, see notes below.
Border: Crab stitch (also called reverse sc), working around the top in the opposite direction. There’s a great tutorial from Moogly here.
Fasten off, weave in ends.
Adjusting for your cork base:
You shouldn’t move onto Round 9 until your circle is very close to the same size as the base. If your circle is too big after Round 8, rip out rounds until it’s the correct size, then move on to Round 9, knowing your stitch count will be less overall. If you need to add more rounds to match the size of your base, follow in pattern by adding one additional sc between the increases per row - so the next round would be *2 sc in next st, sc in next 7 st* around and you’ll end up with 48 + 6 = 54 stitches. The next round would be *2 sc in next st, sc in next 8 st*, ending with 60 stitches, etc.
Remember, if you change the number of base stitches and you’re adding basket handles, you’ll need to adjust where they stop and start on your round.
Basket Handles (optional):
Round 20 (instead of the one listed above): sc 7, ch 10, skip next 7 sc, sc 17, ch 10, skip next 7 sc, sc to end of round and join with a sl st.
When working the crab stitch border, work the chain stitches the same way you work the sc stitches

Having Fun with Crochet
These mini baskets can easily be made much bigger, and can store anything. It’s the PERFECT stashbusting project for your yarn scraps and so far my kids have used it as an “egg toss” game while we wait for the spring thaw!
“Easter is the only time when it’s perfectly safe to put all of your eggs in one basket.”